

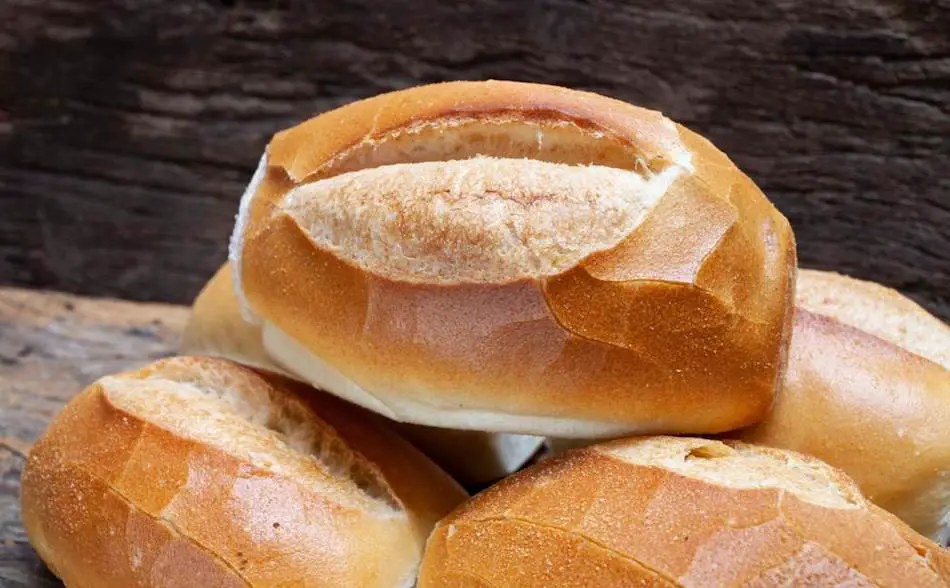
Are you tired of dense, heavy French bread that lacks the light, airy texture of a perfect loaf? Making fluffy French bread is easier than you think. With the right ingredients, techniques, and a little bit of patience, you can create a loaf that rivals even the best boulangeries. From the importance of yeast to the secret to oven spring, we’ve got all the tips and tricks you need to bake bread that’s soft, tender, and absolutely delicious. So grab your apron, preheat your oven, and let’s get baking!
To achieve a fluffy French bread, it’s essential to follow a few key steps. First, make sure to maintain the proper dough hydration, as it plays a crucial role in the bread’s texture. Then, knead the dough thoroughly to develop the gluten structure and create a smooth, elastic dough. Shape the dough into a boule or baguette and let it rise until doubled in size. When baking, use a high temperature and add steam to the oven to help the bread rise and maintain its moisture. After baking, cool the bread completely on a wire rack to prevent steam from escaping. Use a high-quality bread flour with a high protein content, and be sure to control yeast growth with the proper amount of salt. Finally, pay attention to oven spring, which is the final rise that occurs in the oven and is critical to achieving a fluffy texture.
| Factor | Explanation |
|---|---|
| Hydration | Maintaining the proper dough hydration is crucial for achieving a fluffy texture. |
| Kneading | Properly kneading the dough helps develop the gluten structure, contributing to the bread’s texture. |
| Shaping | Shaping the dough into a boule or baguette shape will help maintain the bread’s fluffiness. |
| Baking temperature | Baking at a high temperature helps the bread rise and maintain its fluffiness. |
| Steam | Adding steam to the oven during baking helps maintain the bread’s moisture, resulting in a fluffy texture. |
| Cooling | Allowing the bread to cool completely on a wire rack before slicing will prevent steam from escaping and maintain the bread’s fluffiness. |
| Flour | Using a high-quality bread flour with a high protein content will result in a more flavorful and fluffy bread. |
| Salt | Salt helps control yeast growth and maintain the dough structure, leading to a fluffy texture. |
| Oven spring | Proper oven spring, the final rise that occurs in the oven, is crucial for achieving a fluffy texture. |
1. Hydration
The key to achieving a fluffy French bread is all about hydration. So, getting the dough hydration just right is critical. If the dough is too dry, it’ll result in a dense and hard bread. But if it’s too wet, it’ll be difficult to handle and won’t hold its shape.
The ideal hydration level is between 60-65%. This will ensure that your dough is soft, pliable, and has the right amount of moisture to rise and achieve that perfect, fluffy texture.
Don’t take hydration lightly. It’s the foundation of a great loaf, and it’ll make all the difference in your baking results. So, measure carefully, and always keep an eye on that dough.
How Much Water Do I Use?
The amount of water or liquid you use when making French bread will depend on the recipe you’re following, but a common range is between 60-75% hydration. This means that if you have 100 grams of flour in your recipe, you would use 60-75 grams of water or liquid.
However, it’s essential to remember that hydration levels can vary based on factors such as the type of flour used, the temperature and humidity of your kitchen, and the desired final texture of your bread. It’s recommended to follow a recipe closely and make adjustments as needed to achieve the desired hydration level for your dough.
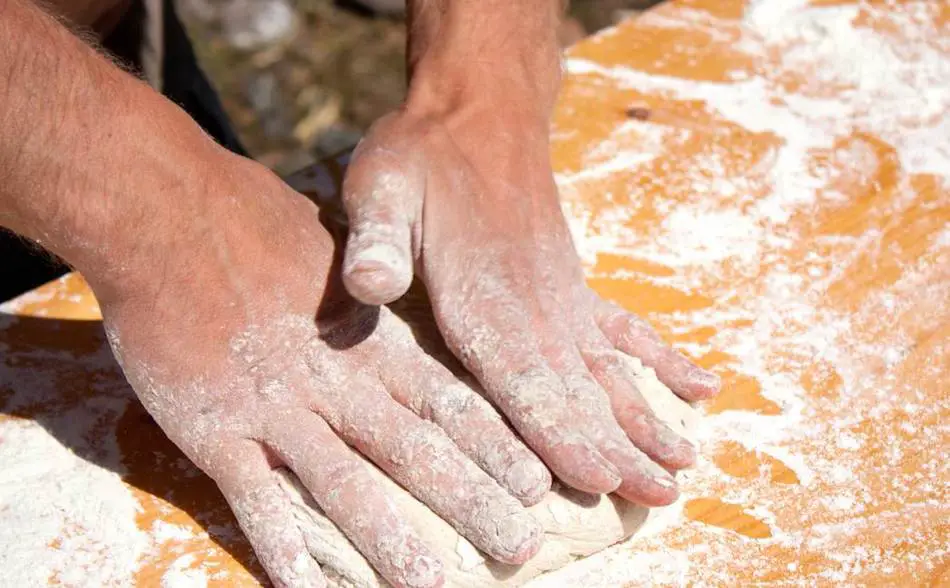
2. Kneading
Kneading your dough properly is a crucial step in achieving that perfect French bread texture. Kneading helps to develop the gluten structure in the dough, and that gluten structure is what gives your bread that desirable “fluffy” texture.
Proper kneading involves working the dough for the right amount of time and with the right amount of pressure. This will ensure that the gluten strands are properly developed, and your dough will have the right elasticity and strength to hold its shape and rise properly.
Don’t be afraid to get your hands dirty, and remember to give your dough the love and attention it deserves. Kneading is key to creating a perfect French bread with a light and fluffy texture. Get it right, and you’ll be on your way to a top-notch loaf.
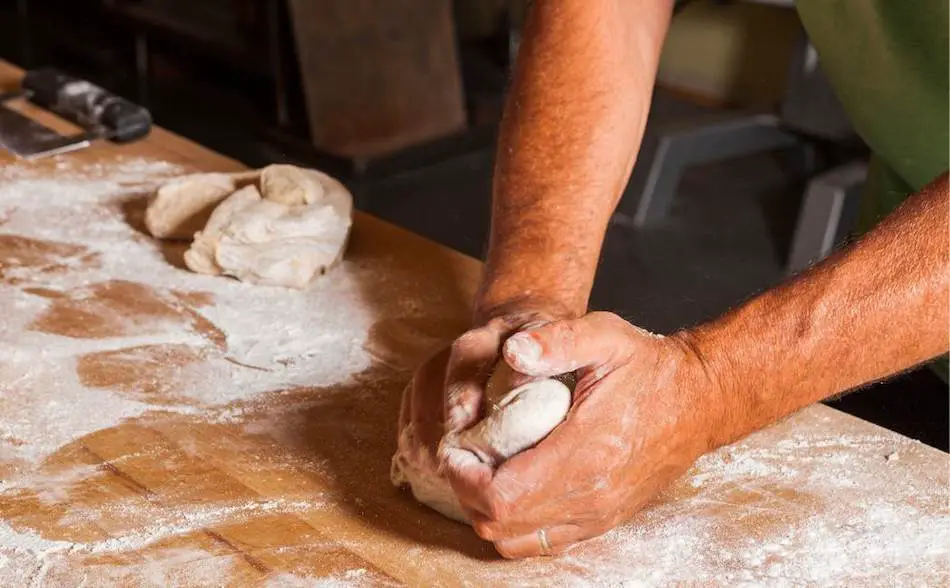
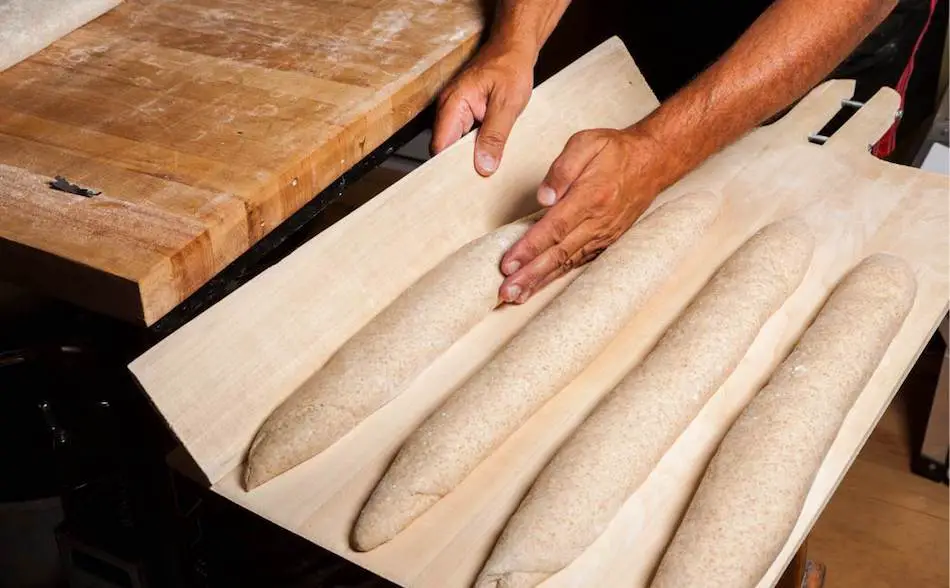
3. Shaping
Shaping is a critical step, and will have a huge impact on the final outcome of your French bread. The shape of your dough will affect how it rises and bakes, and ultimately, how fluffy it will be. That’s why it’s crucial to shape your dough into the right form.
A boule or a baguette shape will help maintain the bread’s fluffiness. When shaping, be gentle but firm, and try to preserve as much air as possible in the dough. This will help the dough rise to its fullest potential and result in a fluffy, light bread.
Don’t be afraid to get creative with your shaping, but always remember that the goal is to create a well-structured loaf that will rise and bake evenly. So, get your hands working, and shape that dough like a pro!
4. Baking Temperature
The temperature at which you bake your bread is crucial to its final texture and fluffiness. Baking at a high temperature is key to getting that perfect rise and maintaining the bread’s fluffiness.
The heat will help activate the yeast, causing the dough to rise, and also help set the structure of the bread, ensuring that it holds its shape and remains fluffy.
However, it’s not just about the temperature, but also about timing. You need to find the right balance between heat and time to ensure that your bread is fully baked but still retains its fluffy texture.
So, turn up the heat, but keep an eye on that timer, and you’ll be well on your way to a perfectly fluffy French bread.
5. Steam
Steam, the secret weapon to a fluffy French bread! Adding steam to the oven during baking is a game-changer. The steam helps to maintain the moisture levels in the bread, preventing it from drying out and becoming tough. This results in a fluffy, tender crumb that’s just begging to be bitten into.
The key to success with steam is to add it early and often. You can add steam to the oven by pouring a cup of hot water into a tray placed on the bottom of the oven, or by using a spray bottle to mist the bread as it bakes.
Just make sure that you don’t let too much steam escape, or you’ll risk losing the fluffiness you’re striving for. So, don’t be afraid to add a little extra moisture to the mix, and your French bread will be all the more delicious for it!
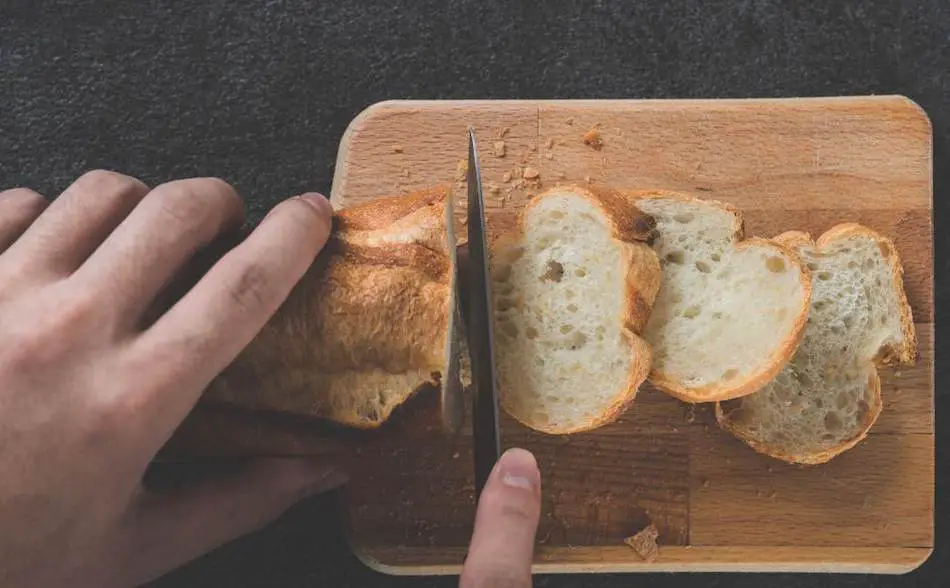
6. Cooling
The cooling stage, a crucial part of the French bread-making process. It’s all too tempting to dive right in and start slicing as soon as that bread comes out of the oven, but if you want to maintain its fluffy texture, it’s important to allow it to cool completely. This is because the bread continues to cook and set as it cools, and if you slice into it too soon, you risk releasing all the steam trapped inside, which will make it go stale and lose its fluffiness.
Instead, transfer your bread to a wire rack and let it cool completely. This will also help prevent any unwanted condensation from forming on the bottom of the bread, which can also lead to a tough, dense texture.
So, be patient, and your reward will be a fluffy, delicious loaf of French bread that’s ready to be sliced and enjoyed.
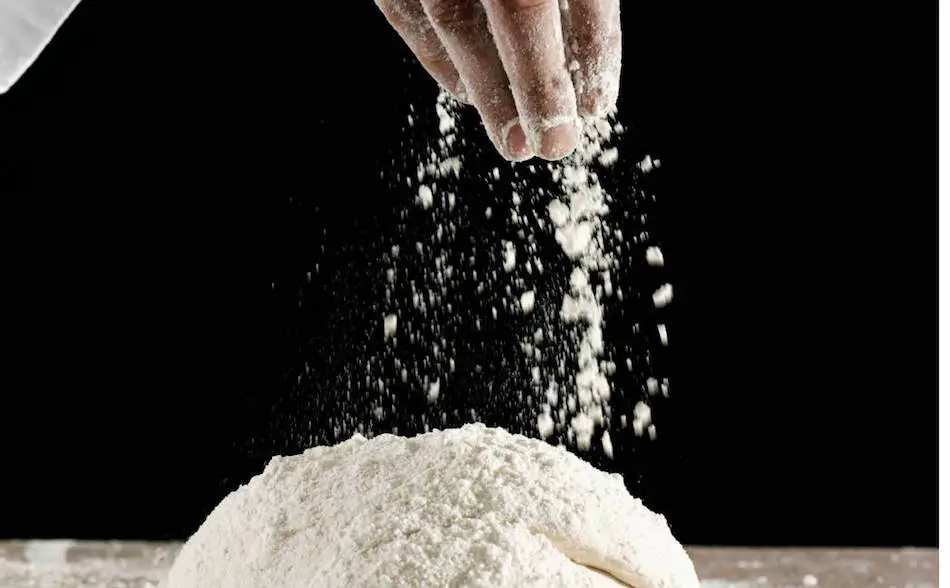
7. Flour
The type of flour you use can have a big impact on the final result of your French bread. High-quality bread flour, with a high protein content, is the key to achieving a fluffy, flavorful loaf. The protein in the flour helps develop the gluten structure, which is crucial for creating a light and airy texture in the bread. This is why it’s important to use a bread flour, as opposed to all-purpose flour, which has a lower protein content.
When shopping for flour, look for a bread flour with a protein content of around 12-14%. This will give you the ideal balance of protein and starch for a fluffy, flavorful French bread. And don’t be afraid to experiment with different flours to find the one that works best for you.
Whether it’s a classic bread flour, a whole wheat flour, or a specialty flour like rye or spelt, the right flour can make all the difference in the texture and flavor of your bread.
8. Salt
Salt plays an essential role in bread making. It’s often referred to as the “seasoning” of bread, and for good reason! Salt helps to balance the flavor of the bread and control the yeast growth. By doing so, it also helps to maintain the structure of the dough, leading to a more structured dough and a fluffier texture.
However, it’s crucial to find the right balance when it comes to salt in bread making. Too little salt can result in a bland bread, while too much can inhibit yeast activity and affect the overall rise of your bread.
Use a good quality sea salt and be generous with it, but make sure not to overdo it. The key is to strike the perfect balance, and you’ll be rewarded with a loaf of bread that’s both flavorful and fluffy!
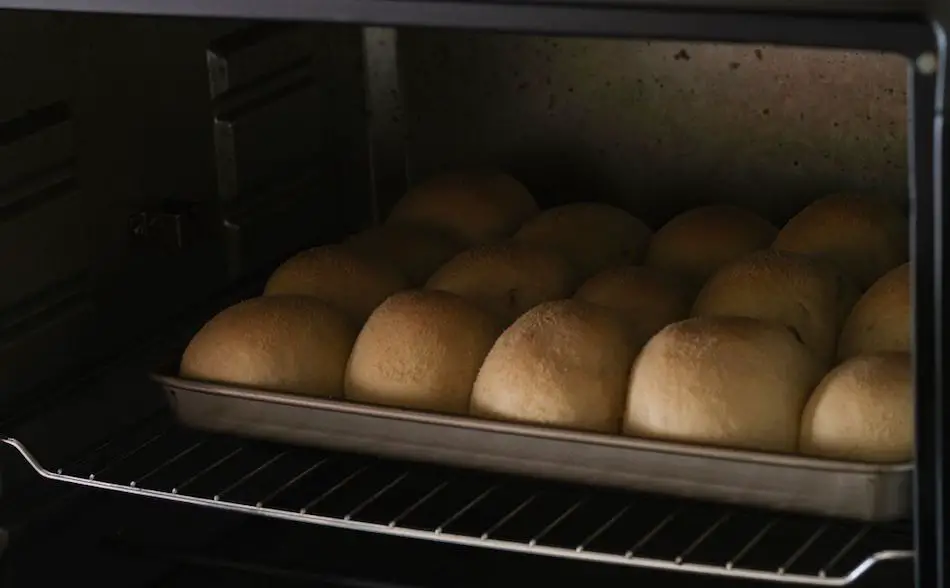
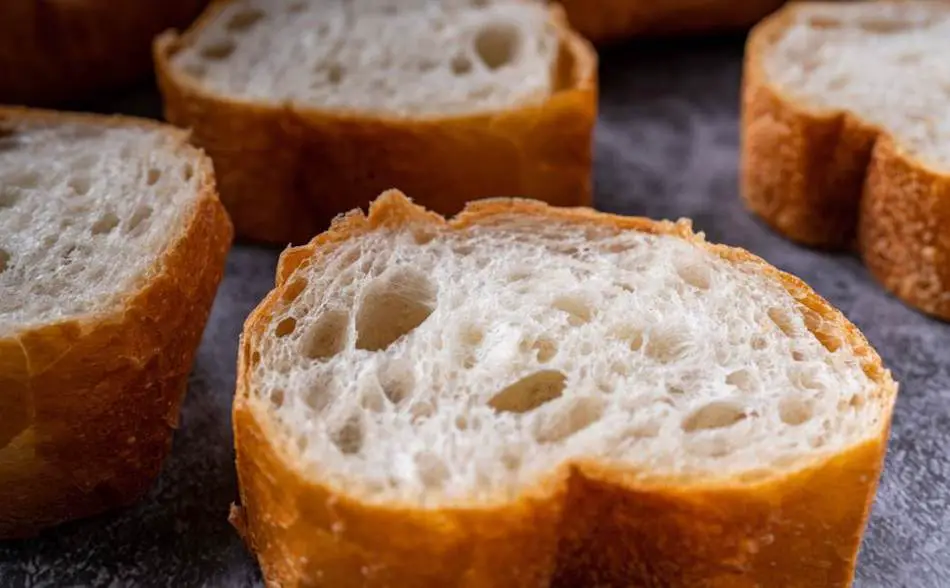
9. Oven Spring
Oven spring, or the final rise of the dough in the oven, is a crucial factor in achieving a fluffy texture in French bread.
The oven spring refers to the sudden expansion of the dough during baking as a result of yeast activity, which releases gases that cause the dough to rise. This rapid expansion gives the bread its final shape, structure, and volume.
Proper oven spring is crucial for achieving a fluffy texture, as it contributes to the overall volume and lightness of the bread.
To ensure proper oven spring, it is important to use a hot oven and create a steamy environment. This can be achieved by using a Dutch oven, spraying the oven with water, or placing a tray of hot water at the bottom of the oven.
Proper oven spring results in a well-risen loaf with a delicate and fluffy crumb, contributing to the overall texture and quality of the bread.
French Bread Recipe: Step-by-Step
| Ingredient | Quantity |
|---|---|
| Bread Flour | 500g |
| Water | 325g |
| Salt | 10g |
| Yeast | 5g |
| Sugar (optional) | 2g |
- Prepare the Dough: a. Combine flour, yeast, salt, and water in a large mixing bowl. b. Mix until the ingredients are well combined and form a rough dough. c. Knead the dough for 10-15 minutes until it becomes smooth and elastic. d. Place the dough in a greased bowl, cover, and let rise until doubled in size.
- Shape the Dough: a. Dust your work surface with flour. b. Gently deflate the dough and shape into a boule or baguette. c. Place the shaped dough on a lightly greased baking sheet or a peel (for baguettes). d. Cover the dough and let it rise for another hour.
- Preheat the Oven: a. Preheat your oven to 450°F (230°C). b. Place a baking stone or cast iron skillet on the bottom rack.
- Bake the Bread: a. Slash the top of the boule or baguette with a sharp knife. b. Place the dough in the oven and quickly pour a cup of water onto the hot stone or skillet. c. Close the oven door and bake for 20-30 minutes, or until the bread is golden brown. d. Check the bread regularly to make sure it’s baking evenly.
- Cool the Bread: a. Remove the bread from the oven and transfer to a wire rack. b. Let the bread cool completely before slicing.
Nutritional Information
The nutritional information for French bread will vary depending on the recipe and ingredients used. However, a typical serving size of 1 medium slice (57g) of French bread contains approximately:
Calories: 130-150 Fat: 1-2g Sodium: 200-250mg Carbohydrates: 25-30g Protein: 4-5g
It is important to note that French bread is typically made with refined flour and can be high in carbohydrates and low in fiber. If you have specific dietary restrictions or are looking for a healthier option, you may want to consider alternative recipes or ingredients.
Equipment For Making French Bread
| Equipment | Description |
|---|---|
| Large Mixing Bowl | For mixing and kneading the dough |
| Baking Sheet | For placing the shaped dough for baking |
| Oven | For baking the bread |
| Wire Rack | For cooling the baked bread |
| Dough Scraper | For handling and shaping the dough |
| Baking Stone or Dutch Oven | For creating steam in the oven during baking (optional) |
| Parchment Paper | For preventing the dough from sticking to the baking sheet (optional) |
| Sprayer Bottle | For misting water onto the dough before baking (optional) |
Proofing
Proofing is one of the most crucial steps in baking French bread. It’s the process of letting the dough rise and develop its flavor and structure. Without proper proofing, your bread will be dense, heavy, and lack the signature light, fluffy texture.
Think of it this way, when you knead your dough and add yeast, you’re creating an environment for the yeast to ferment and release carbon dioxide. This is what makes the dough rise and gives it that fluffy texture.
So, it’s imperative that you give the dough enough time to proof properly. This will depend on various factors like the temperature, humidity, and the amount of yeast you’ve used. But, a good rule of thumb is to let it rise for about an hour or until it has doubled in size.
Remember, if you skip or rush the proofing process, you’ll end up with a subpar loaf of bread that’ll have all the charm of a brick. And, who wants that? So, take the time, be patient, and let your dough proof properly.
Scoring
Scoring is one of the most important steps in baking French bread. It’s crucial to make shallow cuts in the dough before baking to allow for proper expansion.
These cuts also add character to the final product, creating a beautiful rustic appearance. But, most importantly, scoring helps control the direction of the expansion, so the bread rises evenly and doesn’t burst at the seams, ruining all your hard work.
Storage
Proper storage is key in maintaining the texture and flavor of your French bread. You see, freshly baked bread is at its prime for about 2 hours after coming out of the oven.
After that, the crust begins to harden and the texture becomes less desirable. To extend its shelf life, wrap the bread in a clean cloth or plastic wrap and store it at room temperature.
Avoid storing the bread in an airtight container, as this will trap moisture and cause the bread to become soggy. If you need to store the bread for more than a day, place it in a plastic bag and store it in the refrigerator.
Just make sure to let it come back to room temperature before serving for the best flavor and texture. Don’t let your hard work go to waste!
Serving Suggestions
This is the bit where you can get creative and show off your baking skills! French bread is a versatile and delicious staple that can be served in a variety of ways.
Here are a few ideas to get you started:
- Toast: Slice the French bread, brush with a little olive oil, and toast until crispy.
- Crostini: Cut the French bread into small rounds, brush with olive oil, and bake until crispy. Serve with toppings such as diced tomatoes, basil, and mozzarella cheese.
- Bruschetta: Cut the French bread into thick slices, brush with olive oil, and grill until crispy. Serve with diced tomatoes, basil, and balsamic glaze.
- Dipping sauces: French bread is perfect for dipping in sauces such as olive oil and balsamic vinegar, or garlic butter.
- Sandwiches: French bread can be used for classic sandwich fillings like ham and cheese, or for more creative fillings like grilled vegetables and pesto.
The possibilities are endless! So go ahead, get creative and show off your culinary skills.
Common FAQs
Q: What type of flour is best for baking French bread? A: High-quality bread flour with a high protein content is recommended for baking French bread as it results in a more flavorful and fluffy bread.
Q: How much yeast do I need to make French bread? A: The amount of yeast needed to make French bread varies, but a general rule of thumb is 1/4 to 1 teaspoon of active dry yeast per 1 cup of flour.
Q: How long does it take to bake French bread? A: Baking time for French bread varies, but it typically takes 20-30 minutes at a high temperature (around 450°F).
Q: Can I add herbs or spices to my French bread dough? A: Yes, you can add herbs or spices to your French bread dough for added flavor. Common additions include garlic, rosemary, and thyme.
Q: How long should I proof my French bread dough? A: The proofing time for French bread dough varies, but it typically takes 1-2 hours. The dough should double in size and become airy and bubbly.
Q: Can I freeze French bread? A: Yes, you can freeze French bread. Wrap it tightly in plastic wrap or aluminum foil and store it in a freezer-safe bag. When ready to use, let it thaw at room temperature or warm it up in a low heat oven.
Q: How can I make a crispy crust on my French bread? A: To make a crispy crust on French bread, brush the loaf with water before baking and add steam to the oven during baking. Scoring the loaf before baking also helps with crust development.
Q: What type of flour is best for making French bread? A: Bread flour with a high protein content is best for making French bread as it results in a more flavorful and fluffy texture.
Q: How do I know if my dough has been kneaded enough? A: A good way to test if the dough has been kneaded enough is to perform the windowpane test. This involves gently stretching a small piece of dough between your fingers. If it stretches easily and doesn’t tear, it’s been kneaded enough.
Q: Can I use instant yeast instead of active dry yeast for making French bread? A: Yes, you can use instant yeast instead of active dry yeast. The process will be slightly different, as instant yeast can be added directly to the dry ingredients, whereas active dry yeast needs to be proofed first.
Q: How long should I let my dough rise? A: The rising time will depend on the temperature and humidity of your kitchen, but usually, it takes about 2 hours for the dough to double in size.
Q: How do I store French bread to maintain its freshness? A: French bread is best stored at room temperature in a paper bag or a cloth bag that allows air to circulate. If you need to store it for longer, it can be wrapped in plastic wrap or foil and stored in the freezer for up to a month.
Q: What is the purpose of scoring the bread before baking? A: Scoring the bread before baking helps control the direction of the bread’s expansion, preventing it from cracking in unexpected places and promoting a more even rise.
Q: How do I know when the bread is done baking? A: You can tell when the bread is done baking by tapping on the bottom of the loaf. If it sounds hollow, it’s done. You can also use an internal thermometer and look for a temperature of 205-210°F (96-99°C).