


Making the perfect loaf of sourdough bread is an art form that requires patience, skill, and the right technique. One of the most common issues that home bakers face is a soggy bottom. Not only does it affect the appearance of the bread, but it also affects the taste and texture. But don’t worry, there is hope! In this article, we will dive deep into the science of sourdough baking and uncover the secrets to achieving a crispy, beautiful sourdough bottom.
A soggy bottom in sourdough bread is a common issue caused by a lack of structure in the dough, improper scoring, or insufficient heat during baking. The solution to this problem involves understanding the causes and implementing techniques such as proper shaping and scoring of the dough, using a baking stone or dutch oven, preheating the baking surface, and controlling the humidity during baking.
- Sourdough bread making is an art that requires time and patience.
- A Sourdough starter is a mixture of flour and water that is fermented with wild yeasts, which are naturally present in the flour and in the air.
- Properly storing and reheating Sourdough bread is essential in order to maintain its texture and flavor.
- The impact of using different flours on bottom crispiness can vary depending on the type of flour and the percentage of protein it contains.
- Using a baking steel or cast iron skillet can significantly improve the bottom crispiness of your Sourdough bread.
- Maintaining a Sourdough starter is an ongoing process that requires regular attention.
- Feeding a Sourdough Starter is the process of adding fresh flour and water to the mixture, to keep the yeast population healthy and active.
- Making Sourdough bread with a Sourdough starter is a process that requires time and patience, but the results are worth it.
- The fermentation process of Sourdough bread is a crucial step that gives the bread its unique flavor and texture.
- Shaping Sourdough bread is an important step that helps to create a strong structure that will hold its shape during baking.
- Proofing Sourdough bread is the final step before baking.
- Baking Sourdough bread is the final step in the bread-making process.
- Cooling Sourdough bread is an important step that helps to set the crust and prevent the bread from becoming soggy.
- Storing Sourdough bread is an important step that helps to maintain its texture and flavor.
- Troubleshooting problems with Sourdough bread making is an important part of the bread-making process.
A summary recipe for Sourdough bread:
- Mix together Sourdough starter, flour, water, and salt in a bowl
- Knead the dough for a few minutes
- Let it ferment for 4-12 hours
- Shape the dough into a round or oval shape
- Proof it for 2-4 hours
- Preheat the oven to 425-450°F (220-230
Understanding the causes of a soggy sourdough bottom
Understanding the causes of a soggy sourdough bottom is crucial in order to fix the problem and bake a perfect loaf of sourdough bread. There are several factors that can contribute to a soggy bottom, including a lack of structure in the dough, improper scoring, or insufficient heat during baking. It is important to identify the specific cause in order to address it properly.
Properly shaping and scoring the dough
Properly shaping and scoring the dough is another crucial step in achieving a crispy bottom on your sourdough bread. Shaping the dough correctly helps to create a strong structure that will hold its shape during baking and prevent a soggy bottom. Scoring the dough also allows steam to escape during baking, which helps to create a crispy crust. It’s a delicate balance and takes a bit of practice to master.
The role of humidity in sourdough baking
The role of humidity in sourdough baking is often overlooked, but it plays a significant role in the final outcome of your bread. High humidity can cause the bread to expand too quickly during baking, leading to a soggy bottom.
On the other hand, low humidity can cause the crust to harden too quickly, preventing the bread from rising properly. It’s all about balance, and it’s important to control the humidity in your baking environment to achieve the perfect loaf of sourdough bread. And there you have it, with these three key steps, you’ll be well on your way to baking the perfect loaf of sourdough bread with a crispy bottom.
The impact of baking temperature on a soggy bottom
The impact of baking temperature on a soggy bottom is significant. Baking at too low of a temperature will not create enough heat to properly set the crust, leading to a soggy bottom.
On the other hand, baking at too high of a temperature can cause the crust to harden too quickly and prevent the bread from rising properly. It’s important to find the sweet spot and use the right baking temperature for your specific recipe and oven.
The importance of preheating the baking surface
The importance of preheating the baking surface cannot be overstated. Preheating your baking surface, whether it be a baking stone, cast iron skillet, or dutch oven, helps to create a hot environment that will give your bread a nice crust.
A cold baking surface will not provide enough heat to properly set the crust, leading to a soggy bottom. Make sure to preheat your surface at least 30 minutes before you plan to put your dough into the oven.
The effects of using a dutch oven or baking stone
The effects of using a dutch oven or baking stone are significant when it comes to achieving a crispy bottom on your sourdough bread.
A dutch oven creates a humid environment that helps to keep the crust from hardening too quickly, allowing the bread to rise properly. A baking stone, on the other hand, helps to create a hot and dry environment that promotes a crispy crust.
Both methods can achieve great results, it’s just a matter of personal preference and the type of oven you have at home.
How to properly store and reheat sourdough bread
Properly storing and reheating sourdough bread is essential in order to maintain its texture and flavor. After baking, it’s important to let the bread cool completely before storing it in a paper bag or cloth bag.
This will help to maintain the bread’s moisture and prevent the crust from becoming too hard. When reheating the bread, it’s best to use a cast iron skillet or baking steel to create a hot and dry environment that will revive the crust and give it a crispy texture. Avoid using the microwave as it will make the bread soggy.
The impact of using different flours on bottom crispiness
The impact of using different flours on bottom crispiness can vary depending on the type of flour and the percentage of protein it contains. For example, bread flour, which has a higher protein content, will create a stronger structure and a crisper crust.
On the other hand, using a flour with a lower protein content, such as whole wheat flour, can result in a softer crust. It’s important to experiment with different flours and find the one that works best for you and your recipe.

How to use a baking steel or cast iron skillet
Using a baking steel or cast iron skillet can significantly improve the bottom crispiness of your sourdough bread. These materials retain heat well and can create a hot and dry environment that promotes a crispy crust. Preheating the baking steel or skillet before placing the bread on it can also help to create a nice crust.
Additionally, using a cast iron skillet can also be helpful to achieve a crispy bottom, by creating a humid environment that helps to keep the crust from hardening too quickly, allowing the bread to rise properly. Remember, that when using a cast iron skillet, you need to cover the skillet with a lid during the first 10-15 min of baking to trap the humidity.
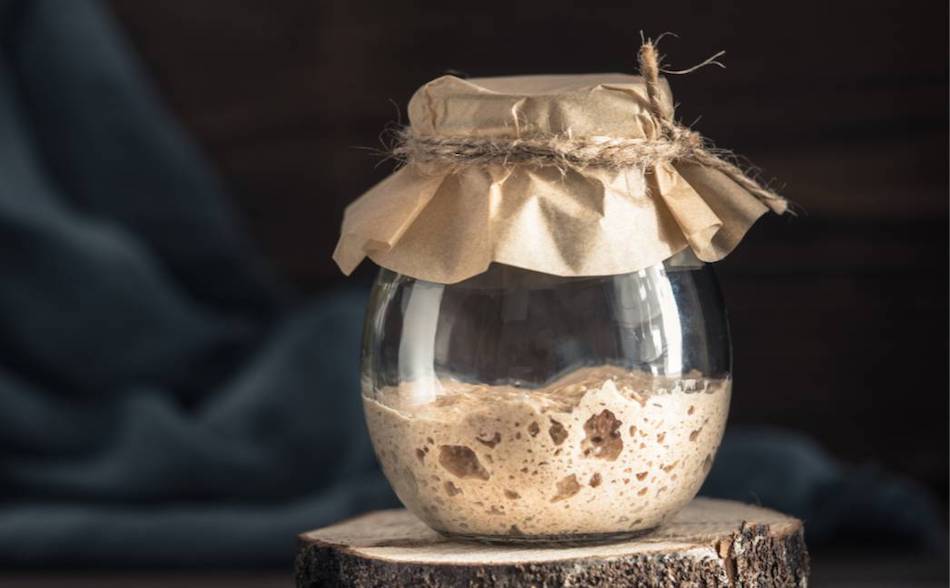
How to make a Sourdough Starter
Making a Sourdough Starter is an essential step in making delicious Sourdough bread. A Sourdough Starter is a mixture of flour and water that is fermented with wild yeasts, which are naturally present in the flour and in the air. To make a Sourdough Starter, all you need is flour and water.
You can use any type of flour, but all-purpose flour or whole wheat flour work well. Mix equal parts flour and water in a jar or container, cover it with a lid or a kitchen towel, and let it sit at room temperature for a few days. After a few days, you should see bubbles forming on the surface, indicating that the wild yeasts have colonized the mixture and it’s ready to use.
How to maintain Sourdough Starter
Maintaining a Sourdough Starter is an ongoing process that requires regular attention. Sourdough Starter needs to be fed every day if you use it daily, and every 3-4 days if you use it less frequently.
Each time you feed it, you need to discard some of the starter and add fresh flour and water. This helps to prevent the overgrowth of bacteria and mold, and keeps the yeast population at a healthy level. It’s important to keep your starter in a glass jar or container with a lid, and avoid using metal utensils or containers as they can react with the acidity of the starter and affect its flavor.
How to feed Sourdough Starter
Feeding a Sourdough Starter is an essential step in maintaining it. Feeding a Sourdough Starter is the process of adding fresh flour and water to the mixture, to keep the yeast population healthy and active. To feed a Sourdough Starter, you need to discard some of the starter, and then add equal parts flour and water. You can use any type of flour, but all-purpose flour or whole wheat flour work well.
Stir the mixture well, and then cover it with a lid or a kitchen towel. Let it sit at room temperature for a few hours before using it. Remember, the more you use and feed your starter, the stronger it will become.
How to make Sourdough bread with a Sourdough starter
Making Sourdough bread with a Sourdough starter is a process that requires time and patience, but the results are worth it. First, you will need to have an active Sourdough starter that is ready to use. Once you have your starter ready, you will need to mix it with flour, water, and salt to create a dough.
The ratio of flour to water and the amount of salt will depend on the recipe you are using. Once the dough is mixed, you will need to let it ferment for several hours, or overnight, depending on the recipe. After fermentation, you will need to shape the dough and let it proof for a few hours before baking.
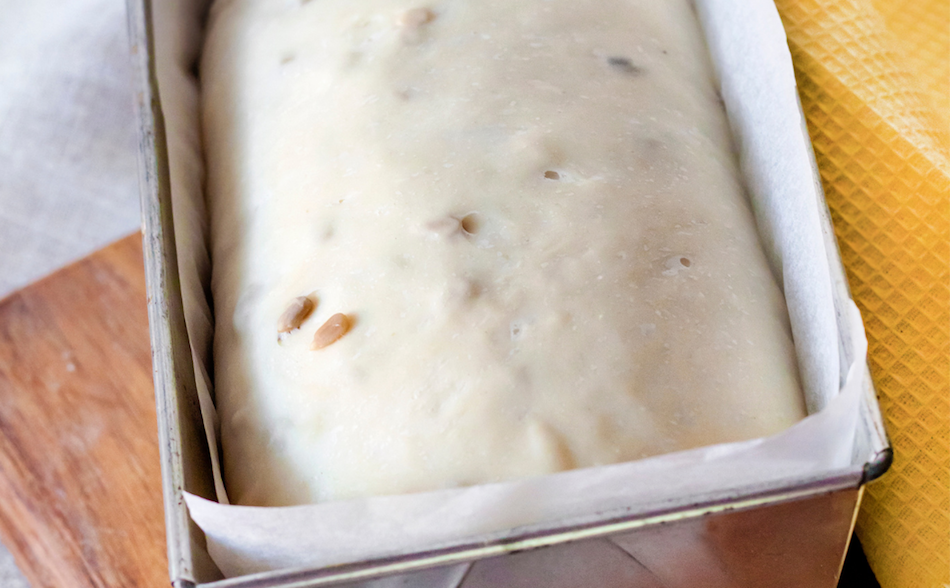
The fermentation process of Sourdough bread
The fermentation process of Sourdough bread is a crucial step that gives the bread its unique flavor and texture. During fermentation, the wild yeasts in the Sourdough starter consume the sugars in the flour, creating carbon dioxide, which causes the dough to rise, and alcohol, which gives the bread its unique flavor.
Fermentation also helps to develop the gluten in the dough, which gives the bread its structure. The length of fermentation will depend on the recipe, the temperature, and the humidity, but it’s usually between 4-12 hours.
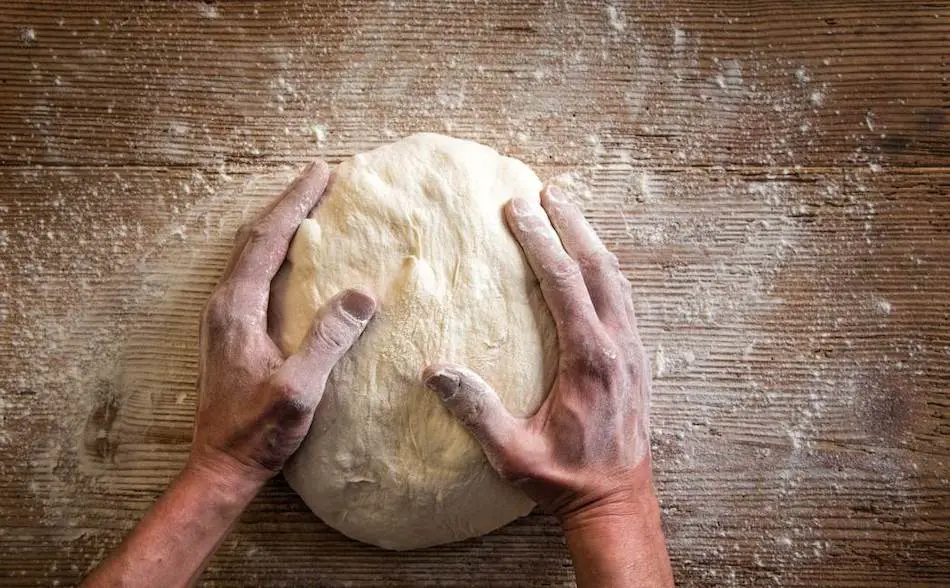
How to shape Sourdough bread
Shaping Sourdough bread is an important step that helps to create a strong structure that will hold its shape during baking.
The shaping process involves gently folding and shaping the dough into a round or oval shape. The key is to handle the dough gently, so as not to deflate it. Once the dough is shaped, you will need to let it rest for a few minutes before placing it in a proofing basket or a Dutch oven.
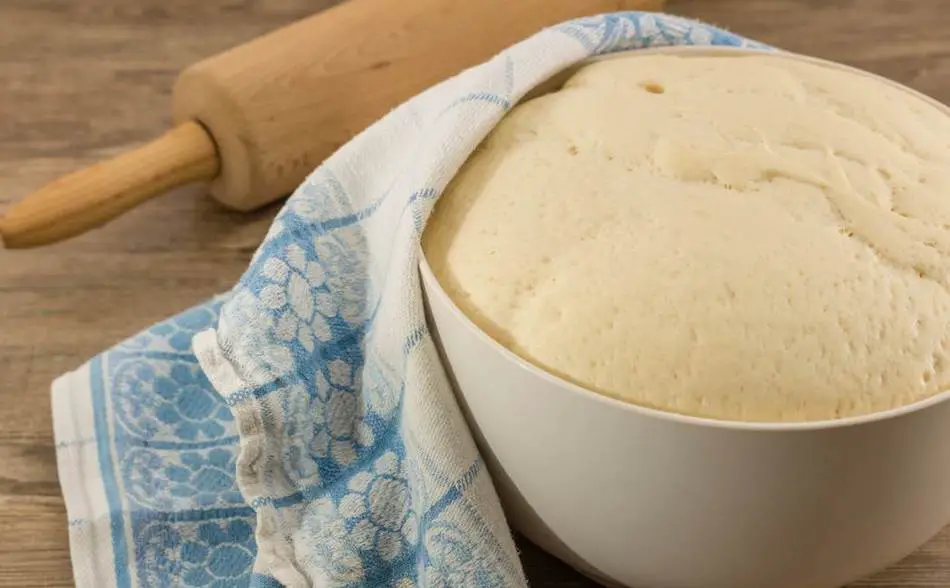
How to proof Sourdough bread
Proofing Sourdough bread is the final step before baking. Proofing is the process of letting the dough rise for a final time before baking. This step helps to create a light and airy texture in the bread.
The length of proofing will depend on the recipe, the temperature, and the humidity, but it’s usually between 2-4 hours. Once the dough has proofed, you can score the surface and then place it in the oven.
How to bake Sourdough bread
Baking Sourdough bread is the final step in the bread-making process. The key to a successful bake is to create a hot and humid environment that will allow the bread to rise properly and create a crispy crust.
This can be achieved by using a Dutch oven or a baking stone, preheating the oven, and creating steam in the oven. Once the bread is placed in the oven, it should be baked at a high temperature, usually around 425-450°F (220-230°C) for about 45 minutes to an hour, depending on the recipe and the size of the loaf.
Ingredients:
- Sourdough starter
- Flour
- Water
- Salt
Steps:
- Mix together the Sourdough starter, flour, water, and salt in a large mixing bowl until it forms a dough.
- Knead the dough for a few minutes until it becomes smooth and elastic.
- Cover the dough with a towel or lid and let it ferment for 4-12 hours, depending on the recipe.
- Once the dough has fermented, shape it into a round or oval shape.
- Place the dough in a proofing basket or Dutch oven and let it proof for 2-4 hours.
- Preheat the oven to 425-450°F (220-230°C) and place a baking stone or Dutch oven in the oven to preheat.
- Once the oven is preheated, score the surface of the dough and place it in the oven.
- Bake the bread for 45-60 minutes, or until the crust is golden brown.
- Remove the bread from the oven and let it cool on a wire rack for at least 1 hour before slicing.
How to cool Sourdough bread
Cooling Sourdough bread is an important step that helps to set the crust and prevent the bread from becoming soggy.
Once the bread is baked, it should be removed from the oven and placed on a wire rack to cool completely. This will allow the bread to cool down slowly and prevent the crust from becoming too hard. It’s important to avoid cutting the bread while it’s still hot as this can cause the bread to deflate.
How to store Sourdough bread
Storing Sourdough bread is an important step that helps to maintain its texture and flavor. Once the bread is cooled, it should be stored in a paper or cloth bag.
This will help to maintain the bread’s moisture and prevent the crust from becoming too hard. Sourdough bread can be stored at room temperature for up to 3-4 days, or in the refrigerator for up to a week. To reheat the bread, you can use a cast iron skillet or baking steel to create a hot and dry environment that will revive the crust and give it a crispy texture.
How to troubleshoot problems with Sourdough bread making
Troubleshooting problems with Sourdough bread making is an important part of the bread-making process. Some of the most common problems that bakers encounter include a soggy bottom, a hard crust, or a bread that doesn’t rise properly.
These problems can be caused by a variety of factors, such as a lack of structure in the dough, improper shaping and scoring, insufficient heat during baking, or a weak Sourdough starter. By understanding the causes of these problems and implementing the right techniques, you can improve your bread-making skills and bake delicious Sourdough bread every time.