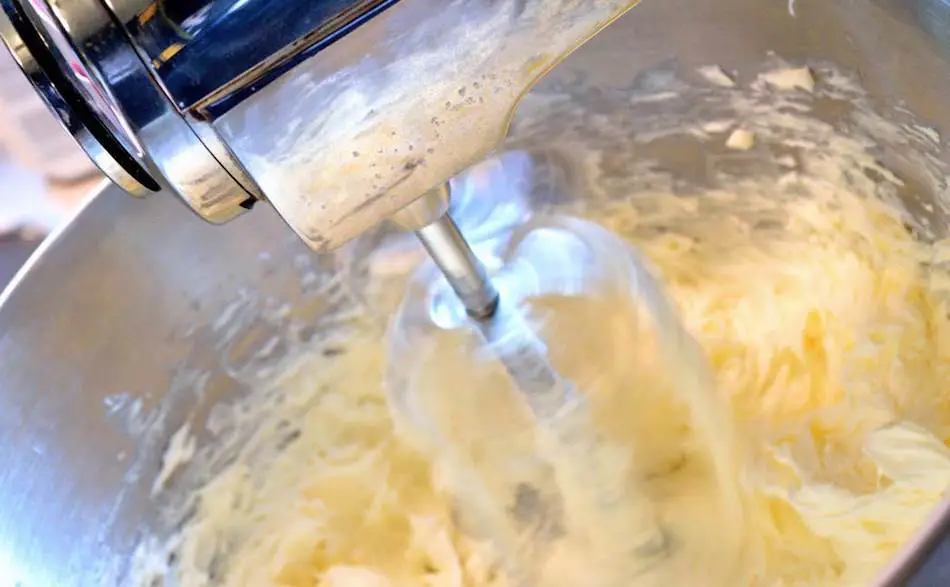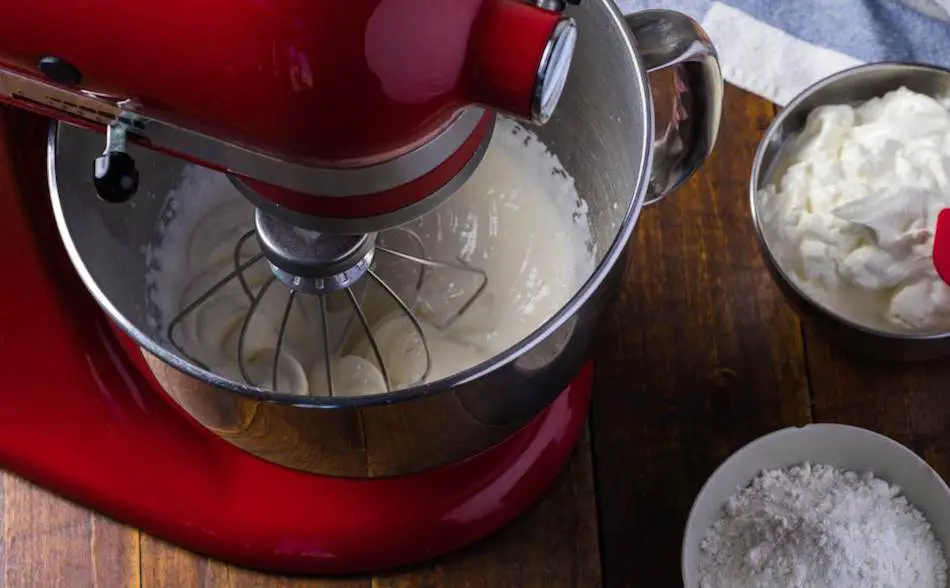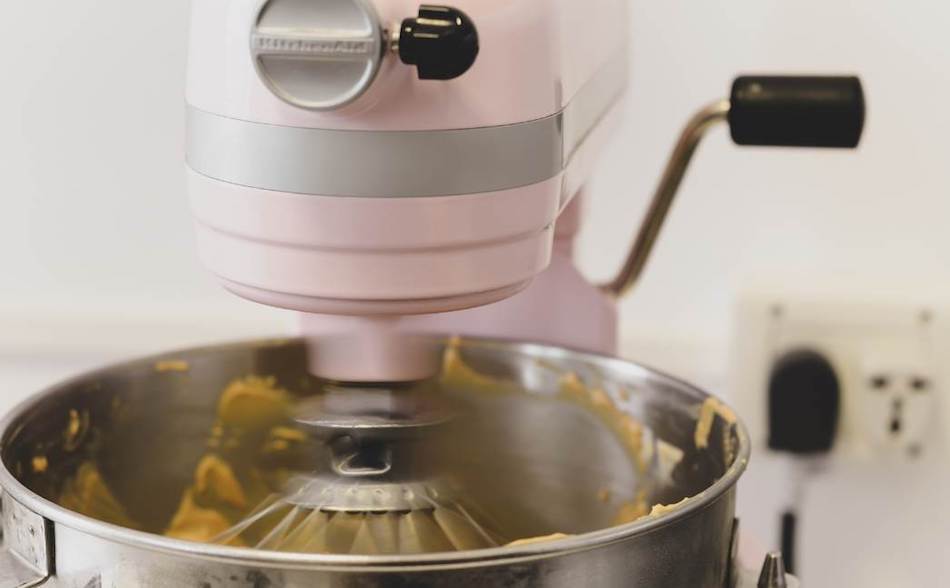
When it comes to baking, the key to success is getting the dough just right. Sourdough bread requires proper mixing and kneading in order to achieve the desired texture and structure. A stand mixer can be a useful tool in this process, allowing for efficient and consistent kneading of the dough. In this article, we will be discussing the use of a stand mixer for making sourdough bread. We will cover the steps involved in using a stand mixer to make sourdough bread, as well as tips for achieving the best results.
Making sourdough in a stand mixer involves combining the ingredients for the dough (flour, water, salt, and starter) in the mixer bowl, using the dough hook attachment to knead the mixture until it forms a smooth and elastic dough. The kneading process helps to develop the gluten structure and build the texture of the bread. After kneading, the dough is usually left to rise and ferment, then shaped and baked in the oven. Using a stand mixer for sourdough can simplify and streamline the process, allowing for consistent and efficient kneading without the need for manual effort. However, it is important to monitor the dough during the mixing process and adjust the speed and kneading time as needed to achieve the desired texture and structure of the final product.
Pros of Using a Stand Mixer for Sourdough Baking
| Benefit | Explanation |
|---|---|
| Efficient Kneading | The dough hook attachment of a stand mixer allows for consistent and efficient kneading of the dough, saving time and effort compared to hand-kneading. |
| Consistent Texture | The consistent and controlled mixing provided by a stand mixer helps to produce a uniform and consistent texture in the final bread. |
| Hands-Free Operation | Using a stand mixer allows the baker to have their hands free for other tasks, rather than having to devote both hands to manually kneading the dough. |
| Adjustable Speed | The speed of the mixer can be adjusted to suit the needs of the dough, allowing for greater control over the kneading process. |
| Reduced Physical Effort | Stand mixers do the heavy lifting, reducing the physical effort required for manual kneading and making the process less tiring. |
| Ability to Multitask | The hands-free operation of a stand mixer allows the baker to work on other tasks while the dough is being mixed, increasing efficiency and productivity. |
Stand Mixer vs Other Methods
When it comes to baking sourdough, there’s no question about it, you need the right tool for the job. And a stand mixer is a real game-changer. This thing is a powerhouse in the kitchen, a true workhorse, ready to take on any dough-kneading task you throw its way.
If you use a stand mixer, you’ve got the option to attach a beater, dough hook, or whisk, so you can get that dough to the perfect consistency, no matter what you’re making. And with its motor base, you’re free to walk away and let it do the heavy lifting, while you take a moment to appreciate the beauty of a well-crafted loaf of sourdough.
Don’t get me wrong, I’ve got nothing against mixing by hand, but let’s be honest, it’s a real workout and it can take a toll on your arm after a while. And using a handheld mixer just isn’t the same, it just doesn’t have the same muscle as a stand mixer.
So if you’re serious about your sourdough, invest in a stand mixer, trust me, your arms and your bread will thank you.
So What is a Stand Mixer?
In case you don’t know, a stand mixer is a kitchen appliance used for mixing and kneading dough. It consists of a motor base and a mixing bowl that attach to each other. The mixer’s beater, dough hook, or whisk can be attached to the motor, allowing for a range of mixing functions.
Stand mixers are commonly used for baking tasks, such as making sourdough bread, where the dough requires consistent mixing and kneading over a long period of time.

How to Use a Stand Mixer to Make Sourdough
- Gather your ingredients: For sourdough bread, you will need flour, water, salt, and a sourdough starter.
- Attach the dough hook to the stand mixer: Make sure to securely attach the dough hook to the mixer.
- Combine the ingredients: In the bowl of the stand mixer, add the flour, water, salt, and sourdough starter.
- Mix on low speed: Start the mixer on low speed and let it run for a few minutes until the ingredients are combined and form a rough dough.
- Increase the speed: Gradually increase the speed of the mixer to medium-high and let it knead the dough for about 8 to 10 minutes. The dough should start to become smooth and elastic.
- Add extra flour if needed: If the dough is too sticky, slowly add more flour as needed. Keep the mixer running until the dough is the desired consistency.
- Proof the dough: Transfer the dough to a greased bowl, cover with plastic wrap, and let it rest in a warm, draft-free area for several hours or overnight, until it has doubled in size.
- Shape the dough: Once the dough has proofed, turn it out onto a floured surface and shape into a loaf.
- Final proof: Place the shaped loaf in a greased loaf pan, cover with plastic wrap, and let it rest in a warm, draft-free area until it has risen to the top of the pan.
- Bake the bread: Preheat the oven to 450°F (230°C). Bake the bread for 30 to 40 minutes or until the crust is golden brown.
- Cool and enjoy: Once the bread is baked, remove it from the oven and let it cool completely on a wire rack before slicing and serving.
What are the Mixing Alternatives?
There are several alternatives to using a stand mixer to make sourdough bread:
- Hand mixing: The traditional method of making sourdough bread is by hand. This involves using your hands to mix the ingredients together and knead the dough until it reaches the desired consistency.
- Handheld mixer: A handheld mixer can be used in place of a stand mixer. This is a more portable option that allows you to mix and knead the dough without having to hold the mixer the entire time.
- Food processor: A food processor can be used to mix the ingredients together and knead the dough. However, this method may produce a denser, less airy bread compared to hand or stand mixer methods.
- No-knead method: The no-knead method involves mixing the ingredients together and letting the dough rest and rise without any additional kneading. This method results in a dense, rustic bread that is well suited for sourdough.
These are just a few of the alternatives to using a stand mixer to make sourdough bread. Each method has its own pros and cons, so it’s important to choose the one that best fits your needs and preferences.
Proper Kneading Techniques for Optimal Bread Texture
Proper kneading techniques are important for achieving the optimal texture in sourdough bread. Here are some tips to keep in mind:
- Knead the dough long enough: The length of time you knead the dough is important for developing gluten and achieving the desired texture. Aim for 8 to 10 minutes of kneading when using a stand mixer, or 15 to 20 minutes of hand-kneading.
- Use the correct speed: When using a stand mixer, start on low speed and gradually increase to medium-high. This will help to avoid overworking the dough and creating a tough texture.
- Add flour as needed: If the dough is too sticky, gradually add more flour as needed. Keep in mind that the dough should be slightly sticky, but not too wet.
- Pay attention to the texture: As you knead, pay attention to the texture of the dough. It should become smooth and elastic, and hold its shape when you gently pull it.
- Avoid over-kneading: Over-kneading the dough can result in a tough, dense texture. If using a stand mixer, stop kneading when the dough reaches the desired consistency, and avoid over-mixing.
Mixing the Dough: Three Ways
The mixing the dough is where the magic really starts to happen. Once you’ve got your starter, your flour, your salt, and your water, it’s all about getting those ingredients to come together and form that perfect, sticky, elastic dough.
If you’re using a stand mixer, I like to start it on a low speed and gradually increase as I go. You don’t want to start too fast or you’ll make a big mess, trust me on this one. Just let the mixer do its thing and keep an eye on the dough. It should start to come together, and as it does, you can start to add more flour if you need to.
If you’re doing it by hand, then it’s all about using your muscles to really work the dough. It’s gonna take a little bit of time, but that’s okay. In fact, it’s good. You want to work that dough until it’s smooth and elastic. That’s how you know you’re on the right track.
And if you’re using a handheld mixer, it’s sort of a happy medium between the two. You still get to use your muscles a bit, but you don’t have to put in quite as much effort as you would by hand.
Proper Kneading Techniques for Optimal Bread Texture
Kneading, it’s where the real magic of sourdough happens. This is where you that sticky, shaggy ball of dough and transform it into something that’s smooth, elastic, and just begging to be baked. And it all starts with the kneading.
There’s a few different ways to knead dough, whether you’re using a stand mixer, a handheld mixer, or just your bare hands. But no matter which way you choose, there are a few key things to keep in mind.
First off, you want to make sure you knead the dough for long enough. I like to aim for about 8-10 minutes in a stand mixer, or 15-20 minutes by hand. That might seem like a long time, but trust me, it’s worth it.
Next, pay attention to the speed. If you’re using a stand mixer, start slow and gradually increase as you go. You don’t want to go too fast and overwork the dough, or you’ll end up with a dense, chewy mess.
And don’t be afraid to add a little bit of flour as you go. The dough should be slightly sticky, but not too wet. And if you find that it’s too sticky, just add a little bit more flour.
But the most important thing to remember is to pay attention to the texture. As you knead, the dough should become smooth and elastic, and it should hold its shape when you gently pull it.
And finally, be careful not to over-knead. That’s the kiss of death when it comes to sourdough. Over-kneading will make the dough tough, and all of that work you put in will be for naught.

Choosing the Right Stand Mixer for Sourdough Baking
When it comes to mixing dough, there’s no better tool than a stand mixer. But with so many different models out there, how do you know which one is right for you?
Well, first off, you want to think about the size. Do you want a big mixer for when you’re making big batches, or a smaller one for when you’re just making a loaf or two?
Next, think about the power. You want to make sure the mixer you choose has enough power to handle that thick, sticky dough. Trust me, you don’t want to be stuck with a mixer that can’t handle the job.
And don’t forget about the attachments. Some mixers come with a dough hook, which is great for kneading, while others come with a beater, which is great for creaming butter and sugar. Think about what you want to use your mixer for and choose accordingly.
But the most important thing is to choose a mixer that you’re comfortable with. The right mixer for one person might not be the right mixer for another. So, do your research, read the reviews, and choose the mixer that’s right for you.
The Best Stand Mixers on Amazon
Here are some of the best stand mixers available on Amazon:
- KitchenAid Artisan Series 5-Quart Tilt-Head Stand Mixer
- Cuisinart SM-55 5-1/2-Quart 12-Speed Stand Mixer
- Hamilton Beach 6-Speed Stand Mixer with 4.5-Quart Stainless Steel Bowl
- Breville BEM800XL Scraper Mixer Pro 5-Quart Die-Cast Stand Mixer
- Aucma Stand Mixer,6.5-QT 660W 6-Speed Tilt-Head Food Mixer
- Sunbeam 2594 350-Watt MixMaster Stand Mixer with Dough Hooks and Beaters, Black
- BLACK+DECKER 6-Speed Hand Mixer with 5 Attachments & Storage Case, MX3200B
- Oster FPSTHM0152-NP 5-Speed Hand Mixer with Storage Case, One Size, Brushed Nickel
- Bosch Universal Plus Stand Mixer, 6.5 Quart Capacity
- CHEFTRONIC SM986 Stand Mixer, 3.7QT 660W Tilt-Head Kitchen Electric Mixer with 6 Speed Control.
Note: This is not a comprehensive list and the availability and ranking of these products may change over time.
Sourdough Mixing FAQs
- What is sourdough bread and why should I make it with a stand mixer? Sourdough bread is a type of bread that is made using a sourdough starter, which is a mixture of flour and water that has been fermented with wild yeast. Making sourdough bread with a stand mixer can save you time and effort by making the dough-kneading process easier and more efficient.
- Can I make sourdough bread without a stand mixer? Yes, you can make sourdough bread without a stand mixer. However, kneading the dough by hand can be time-consuming and physically demanding. A stand mixer makes it easier and quicker to get the job done.
- What kind of stand mixer is best for making sourdough bread? When choosing a stand mixer for making sourdough bread, you should look for one that is powerful and has a large capacity bowl. It is also a good idea to choose a mixer that comes with a dough hook attachment.
- How do I use a stand mixer to make sourdough bread? Here are the basic steps for using a stand mixer to make sourdough bread:
- Combine the flour, water, and sourdough starter in the bowl of the stand mixer.
- Attach the dough hook to the mixer and start mixing on low speed.
- Once the dough has come together, increase the speed and continue to mix for 5-10 minutes, or until the dough is smooth and elastic.
- Turn the dough out onto a lightly floured surface and shape into a ball.
- Place the dough into a lightly oiled bowl, cover, and let it rise.
- Repeat the shaping and rising process until the dough is ready to be baked.
- How long does it take to make sourdough bread using a stand mixer? The total time it takes to make sourdough bread with a stand mixer can vary depending on several factors, such as the recipe, the ambient temperature, and the humidity levels. However, using a stand mixer can significantly reduce the amount of time and effort required compared to making sourdough bread by hand.
- Can I use a hand mixer instead of a stand mixer to make sourdough bread? While a hand mixer can be used to make sourdough bread, it may not be as efficient or effective as a stand mixer. A hand mixer may not have enough power to handle the thick and sticky dough, and it can also be physically challenging to mix the dough for an extended period of time.
- Are there any tips for making sourdough bread with a stand mixer? Here are a few tips to keep in mind when making sourdough bread with a stand mixer:
- Make sure the bowl and dough hook are well-floured to prevent the dough from sticking.
- Start mixing the dough on a low speed and gradually increase the speed to avoid splashing the ingredients out of the bowl.
- Don’t overmix the dough, as this can cause the gluten structure to break down and result in a dense and heavy loaf.
- Make sure to monitor the dough as it rises, and be prepared to adjust the temperature and humidity levels if necessary.
Which Mixing Method Gets the Best Results?
For most sourdough bread recipes, the best results are achieved through the use of a stand mixer or a hand mixer with a dough hook attachment. The dough hook allows the dough to be kneaded efficiently and effectively, helping to build the gluten structure and produce a light and airy loaf of bread.
If a traditional, rustic texture is desired, hand-kneading the dough can be an effective method. Hand-kneading allows for greater control over the dough and can help to develop a more open and irregular crumb structure.
Ultimately, the best method for mixing dough will depend on the type of dough, the desired final texture, and the individual preferences of the baker.

