

When it comes to bread making, there’s nothing more frustrating than a loaf that refuses to rise. But don’t despair – the solution to your rising woes could be as simple as understanding how yeast works, and how to properly use, store and mix it. In this comprehensive guide, we’ll cover the most common causes of bread not rising, and give you tips and tricks for encouraging yeast activity, so you can enjoy perfectly risen bread every time.
Pumpernickel bread not rising is a common problem in bread making, caused by various factors such as using expired or old yeast, not using the right amount of yeast, temperature and humidity, improper measuring and mixing, gluten-free flour, altitude, and old or expired ingredients. To overcome this problem, it is important to understand the role of yeast in bread making and how to properly use, store, and mix it. Encouraging yeast activity can be achieved by following tips and tricks such as properly storing and using dry yeast, rehydrating it, adjusting sugar and salt, using a starter culture, proofing and shaping dough, using a bread machine, and maintaining the right temperature and humidity.
Also, other methods such as reviving dormant yeast, using baking powder or baking soda, and proper storage and reheating of homemade bread, cleaning and sanitizing baking equipment, using fresh ingredients, and making natural yeast starter at home can be used to encourage yeast activity and make perfect pumpernickel bread every time.
Key Points
- Yeast is a critical ingredient in bread making, responsible for fermentation and rising.
- Common causes of bread not rising include using expired or old yeast, not using the right amount of yeast, temperature and humidity, improper measuring and mixing, gluten-free flour, altitude, and old or expired ingredients.
- Tips to encourage yeast activity include properly storing and using dry yeast, rehydrating it, adjusting sugar and salt, using a starter culture, proofing and shaping dough, using a bread machine, and maintaining the right temperature and humidity.
- Other methods to encourage rising include reviving dormant yeast, using baking powder or baking soda, and proper storage and reheating of homemade bread.
- Additionally, clean and sanitize baking equipment, pay attention to the order of ingredients, use fresh ingredients and make natural yeast starter at home.
Understanding yeast and its role in bread making
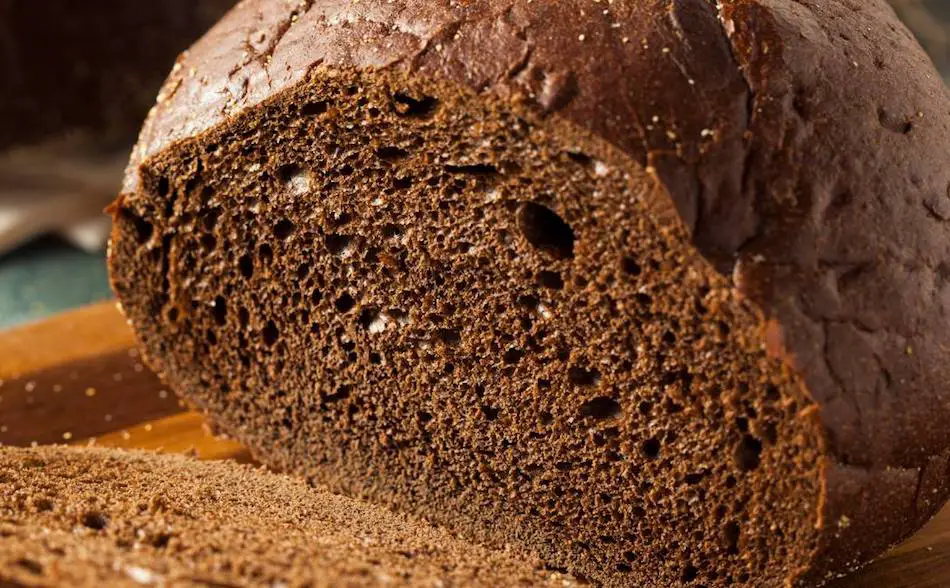
When it comes to bread making, yeast is the unsung hero of the process. It’s the ingredient that makes bread rise, gives it that airy texture, and creates those delicious bubbles. But when your bread isn’t rising, it can be a frustrating and disappointing experience. In this article, I’m going to walk you through some common causes of bread not rising, and give you tips on how to encourage yeast activity to ensure your bread turns out perfectly every time.
Understanding yeast and its role in bread making: Yeast is a living organism, a type of fungus that feeds on sugars and starches in the dough. As it eats, it produces carbon dioxide gas, which causes the dough to rise and become light and airy. Yeast also contributes to the flavor and aroma of bread, creating those familiar, yeasty notes that we all know and love.
Common causes of bread not rising
There are a number of reasons why your bread might not be rising properly. One common cause is using expired or old yeast. Yeast is a living organism, and over time it loses its ability to ferment and produce gas. Another common cause is not using the right amount of yeast. Too little yeast, and the dough won’t rise properly. Too much yeast, and the dough will rise too quickly and then collapse.
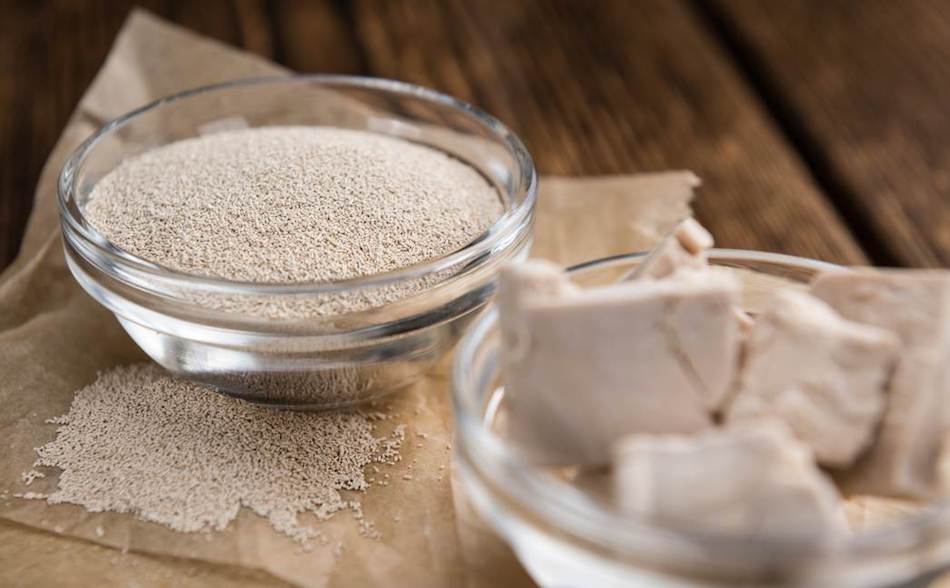
How to properly store and use dry yeast
One of the most important things you can do to ensure your bread rises properly is to store and use your yeast properly. Always store dry yeast in an airtight container, in a cool, dry place. And always check the expiration date before using it. When you’re ready to use the yeast, make sure to rehydrate it in warm water (around 110-115°F) before adding it to your dough.
Temperature and humidity: the effects on yeast activity
Temperature and humidity can have a big impact on yeast activity. Yeast likes to grow in warm, humid environments. If your kitchen is too cold or too dry, the yeast won’t be able to ferment and produce gas. On the other hand, if it’s too hot or too humid, the yeast will ferment too quickly, and the dough will collapse.
The importance of proper measuring and mixing
Measuring and mixing are critical steps in bread making, and even small mistakes can affect the final outcome of your bread. Always measure your ingredients carefully, and mix them together thoroughly. Overmixing the dough can lead to a dense, heavy loaf, while undermixing will leave you with a bread that doesn’t rise properly.
How to revive dormant yeast
When it comes to bread making, yeast is the unsung hero of the process. It’s the ingredient that makes bread rise, gives it that airy texture, and creates those delicious bubbles. But when your bread isn’t rising, it can be a frustrating and disappointing experience. In this article, I’m going to walk you through some troubleshooting tips and tricks to help you make perfect pumpernickel bread every time.
If your yeast is old or expired, it may be dormant and unable to ferment and produce gas. But all is not lost! You can revive dormant yeast by mixing it with warm water (around 110-115°F) and a pinch of sugar. The sugar will act as a food source for the yeast, and the warm water will help to rehydrate it. Give it a few minutes to activate, and you’ll be back in business.
The effects of sugar and salt on yeast activity
Sugar and salt both play important roles in bread making, but they can also have an impact on yeast activity. Sugar is a food source for the yeast, and it helps to encourage fermentation and rising. Salt, on the other hand, can slow down yeast activity. If your bread isn’t rising properly, try adjusting the amount of sugar and salt in your recipe.
Using a starter culture for added yeast activity
A starter culture is a mixture of flour and water that has been fermented with wild yeast. It’s a great way to add extra yeast activity to your bread, and it can also contribute to the flavor and aroma of the bread. If you’re having trouble with your bread not rising, try adding a small amount of starter culture to your dough.
The impact of gluten-free flours on yeast activity
Gluten-free flours can be tricky to work with when it comes to bread making, and they can have an impact on yeast activity. Gluten-free flours are typically lower in protein and don’t have the same structure as wheat flour, which can make it harder for the dough to rise. If you’re using gluten-free flours, try adding a gluten-free yeast-based dough enhancer or an extra pinch of yeast to help encourage rising.
How to troubleshoot common baking mistakes
When it comes to bread making, there are a lot of potential pitfalls that can lead to a loaf that doesn’t rise properly. Common mistakes include using expired or old yeast, not using the right amount of yeast, not rehydrating dry yeast, overmixing or undermixing the dough, and using flours that are too low in protein. If you’re having trouble with your bread not rising, take a look at your recipe and your method, and see if there’s anything you can tweak or improve.
The effects of altitude on yeast activity
Yeast is the unsung hero of the bread making process. It’s the ingredient that makes bread rise, gives it that airy texture, and creates those delicious bubbles. But when your bread isn’t rising, it can be a frustrating and disappointing experience.
The effects of altitude on yeast activity: Altitude can have a big impact on yeast activity. At high altitudes, the air pressure is lower, and the yeast will ferment more quickly. This can lead to a bread that rises too quickly and then collapses. To counteract this, you can use less yeast, or you can add a pinch of sugar to slow down fermentation.
How to properly proof and shape dough
Proofing and shaping are critical steps in bread making, and they can have a big impact on the final outcome of your bread. To proof dough, cover it with a damp cloth and let it rise in a warm, humid place. To shape dough, gently stretch and fold it to create tension and structure. Make sure to handle the dough gently, and avoid overworking it.
Using a bread machine: tips for encouraging yeast activity
A bread machine can be a great tool for making bread, but it can also have its own set of challenges. To encourage yeast activity, make sure to follow the manufacturer’s instructions for adding ingredients, and pay attention to the order in which they’re added. Also, use the correct amount of yeast and sugar, and make sure the water you use is at the correct temperature.
The role of fermentation in bread making
Fermentation is an important step in bread making, and it’s what gives bread its unique flavor and aroma. During fermentation, the yeast converts the sugars in the dough into carbon dioxide and alcohol, which makes the dough rise and gives it its characteristic yeasty aroma. To encourage fermentation, make sure your dough is at the correct temperature and humidity, and give it enough time to rise.
How to properly store and reheat homemade bread
Once your bread is baked and cooled, it’s important to store it properly to keep it fresh and delicious. The best way to store bread is in a bread box or a paper bag, in a cool, dry place. When you’re ready to eat it, you can reheat it in the oven or toaster. Just make sure to wrap it in foil to keep it from drying out.
The effects of using old or expired yeast
When it comes to bread making, yeast is the unsung hero of the process. It’s the ingredient that makes bread rise, gives it that airy texture, and creates those delicious bubbles. But when your bread isn’t rising, it can be a frustrating and disappointing experience.
Using old or expired yeast can be a big problem when it comes to bread making. Yeast is a living organism, and over time it loses its ability to ferment and produce gas. If your yeast is old or expired, it won’t be able to do its job and your bread won’t rise properly. Always check the expiration date before using yeast, and be sure to store it properly.
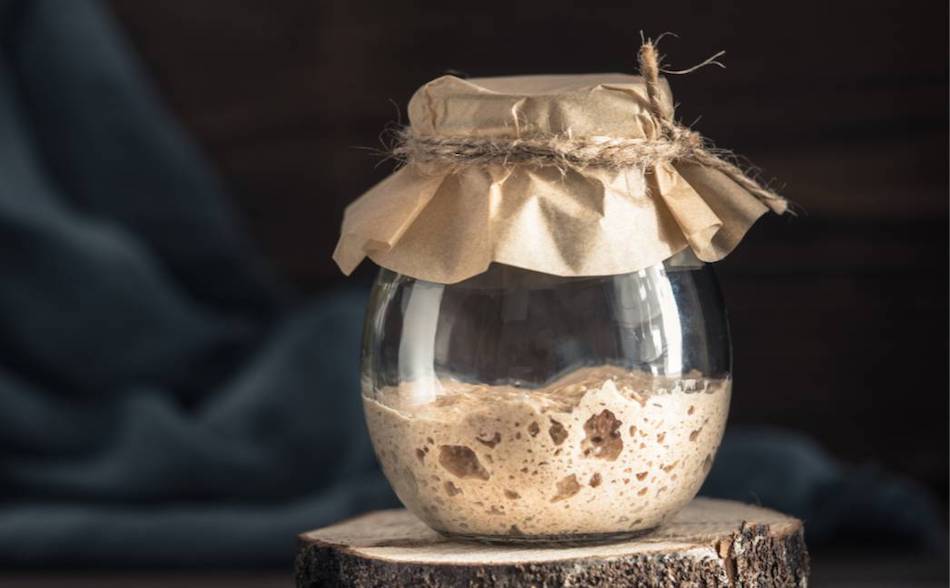
How to make a natural yeast starter at home
A natural yeast starter is a mixture of flour and water that has been fermented with wild yeast. It’s a great way to add extra yeast activity to your bread, and it can also contribute to the flavor and aroma of the bread. To make a natural yeast starter, mix together flour and water, and let it sit in a warm, humid place for a few days. You can then use it in place of commercial yeast in your bread recipe.
The importance of using fresh ingredients
The importance of using fresh ingredients: Using fresh ingredients is crucial when it comes to bread making. Yeast is a living organism, and it needs fresh, high-quality ingredients to do its job. Be sure to use fresh flour, sugar, salt, and water. And always check the expiration date of your yeast before using it.
How to properly clean and sanitize baking equipment
Properly cleaning and sanitizing your baking equipment is essential for preventing contamination and ensuring that your bread rises properly. Always wash your mixing bowls, utensils, and baking pans with warm soapy water, and then sanitize them with a solution of one tablespoon of chlorine bleach per gallon of water. Be sure to rinse the equipment thoroughly before using it.
Alternative methods for rising bread (such as using baking powder or baking soda)
Alternative methods for rising bread (such as using baking powder or baking soda): If you’re having trouble with your bread not rising, there are alternative methods you can try.
One option is to use baking powder or baking soda, which are chemical leaveners that release carbon dioxide when they’re heated. Another option is to use a bread machine, which can help to control the temperature and humidity of the dough, and ensure that the yeast is able to ferment properly.
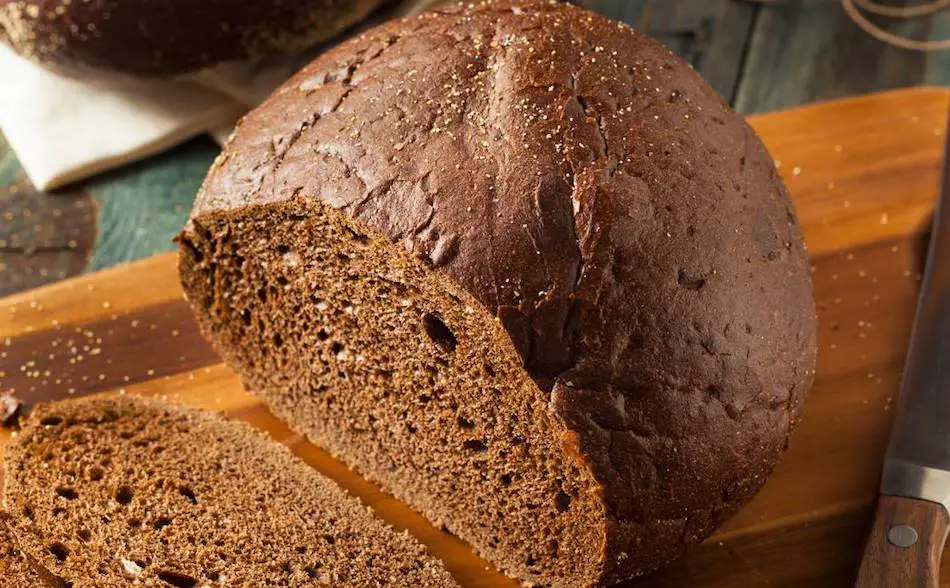
How to Make Pumpernickel Bread: Step-by-Step
| Ingredient | Quantity |
|---|---|
| Dark Rye Flour | 3 cups |
| All-purpose Flour | 1 1/2 cups |
| Warm Water (around 110-115°F) | 1 1/2 cups |
| Molasses | 2 tablespoons |
| Active Dry Yeast | 1 tablespoon |
| Salt | 1 tablespoon |
| Caraway Seeds (optional) | 1 tablespoon |
| Step | Instructions |
|---|---|
| 1 | In a large mixing bowl, combine the warm water, yeast, and molasses. |
| 2 | Stir gently until the yeast is dissolved. |
| 3 | Let it sit for about 10 minutes, until the mixture becomes bubbly and frothy. |
| 4 | Add the rye flour, all-purpose flour, salt, and caraway seeds (if using) to the yeast mixture. |
| 5 | Stir until the ingredients are well combined and form a dough. |
| 6 | Knead the dough on a floured surface for about 10 minutes, until it becomes smooth and elastic. |
| 7 | Place the dough in a greased and floured loaf pan and cover it with a damp cloth. |
| 8 | Let it rise in a warm, humid place for about 1 hour, or until it has doubled in size. |
| 9 | Preheat the oven to 350°F. |
| 10 | Bake the bread for about 60-70 minutes, or until it sounds hollow when tapped on the bottom. |
| 11 | Let the bread cool down before slicing it. |