

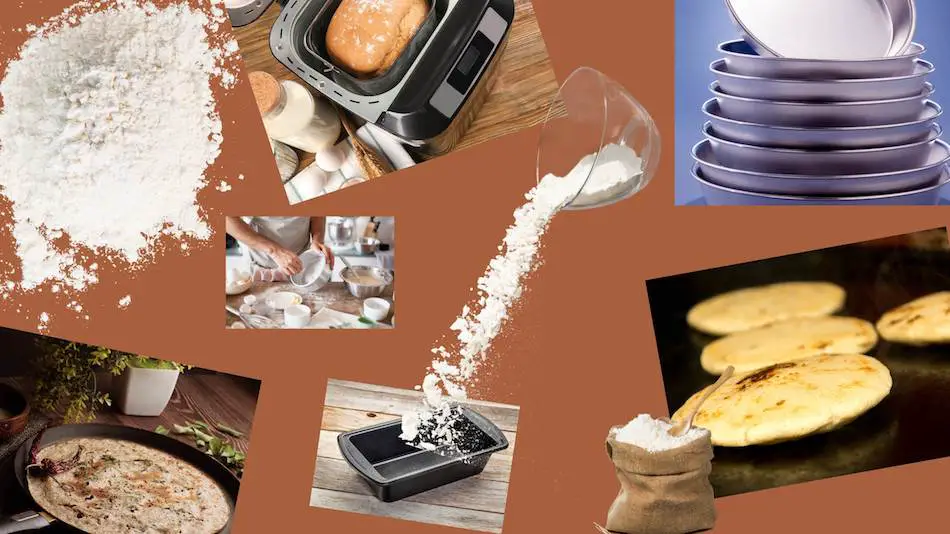
Did you know that there are many different ways to bake bread? I did some research and found out that you can bake bread in all kinds of things, each with their own unique features and benefits. From Dutch ovens and skillets to bread machines and griddles, there are many options for creating delicious, homemade bread. Some of them aren’t the best, but I find it fun to experiment with different bread making methods.
Here are just a few ideas for what you can bake your bread in:
| Item | Description |
|---|---|
| Oven | An appliance used for cooking and baking. |
| Dutch oven | A type of oven with a heavy, lid that can be used on a stovetop or in an oven. |
| Skillet | A type of frying pan with low sides and a long handle. |
| Bread machine | A small appliance that mixes, kneads, and bakes bread automatically. |
| Griddle | A flat, usually round or rectangular, cooking surface used for frying food. |
| Pizza stone | A thick, flat slab of material, such as stone or ceramic, used for baking pizza. |
| Bread pans | Pans specifically designed for baking bread. |
| Baking trays | Flat, rectangular pans used for baking cookies, cakes, and other desserts. |
| Muffin tins | Small, individual-sized pans used for baking muffins and cupcakes. |
| Roasting pan | A large, rectangular pan with a rack used for roasting meats. |
| Loaf pan | A small, rectangular pan used for baking bread in the shape of a loaf. |
| Clay pot | A pot made of clay, used for cooking food. |
| Electric griddle | A griddle with an electric heating element built into the surface. |
| Tagine | A type of cooking pot with a conical lid, used in North African cuisine. |
| Cast iron pot | A heavy, durable pot made of cast iron, used for cooking food. |
| Pressure cooker | A type of pot with a sealed lid that cooks food quickly using steam pressure. |
| Bread maker | Another term for a bread machine. |
| Toaster oven | A small oven that can be used for toasting bread, cooking small dishes, and reheating food. |
| Slow cooker | A type of electric appliance that cooks food slowly over a long period of time. |
| Smoker | A charcoal, gas, or electric outdoor cooker that infuses smoke into the food. |
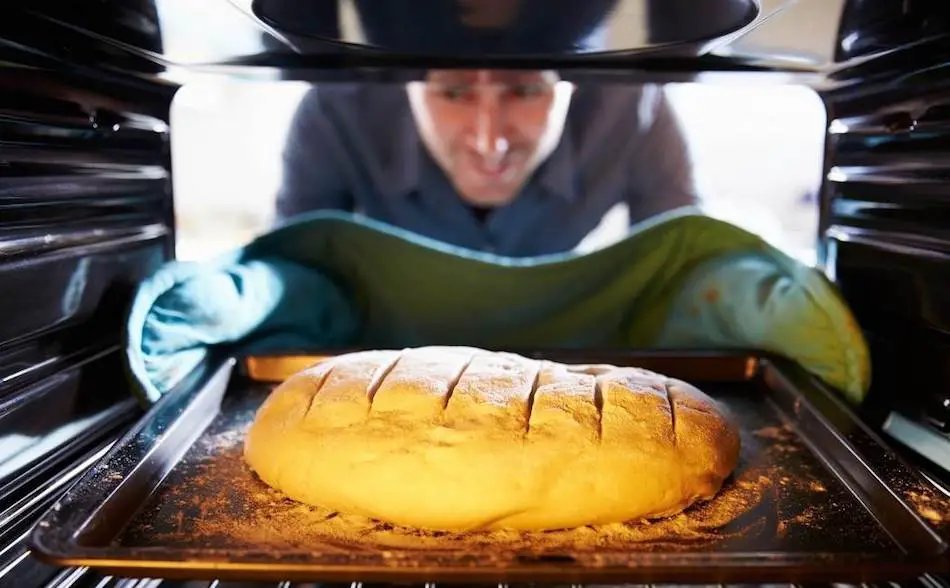
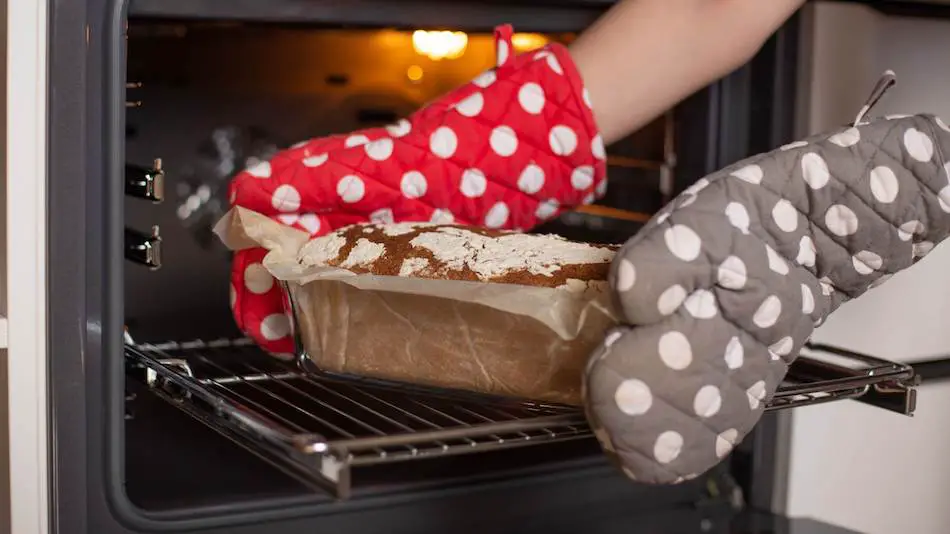
Baking Bread In An Oven
The oven is the most common way of baking bread and it’s probably what I use most of all because it provides a controlled and enclosed environment in which the bread can rise and cook evenly. The heat from the oven causes the bread dough to expand and rise, while the crust of the bread forms as a result of the high heat of the oven. Baking bread in an oven also allows for the bread to be cooked quickly and efficiently, without the need for constant monitoring and stirring as is required when cooking on a stovetop. Additionally, ovens can be easily set to specific temperatures, allowing for consistent and reliable results when baking bread.
To bake bread in an oven, you will need the following ingredients: bread dough, flour for dusting, and salt. Follow these steps:
- Preheat your oven to 425 degrees Fahrenheit.
- Dust your work surface with flour and gently roll out the bread dough into your desired shape.
- Sprinkle the dough with a pinch of salt, then transfer it to a baking sheet lined with parchment paper.
- Bake the bread for 15-20 minutes, or until it is golden brown and sounds hollow when tapped on the bottom.
- Allow the bread to cool slightly before slicing and serving.
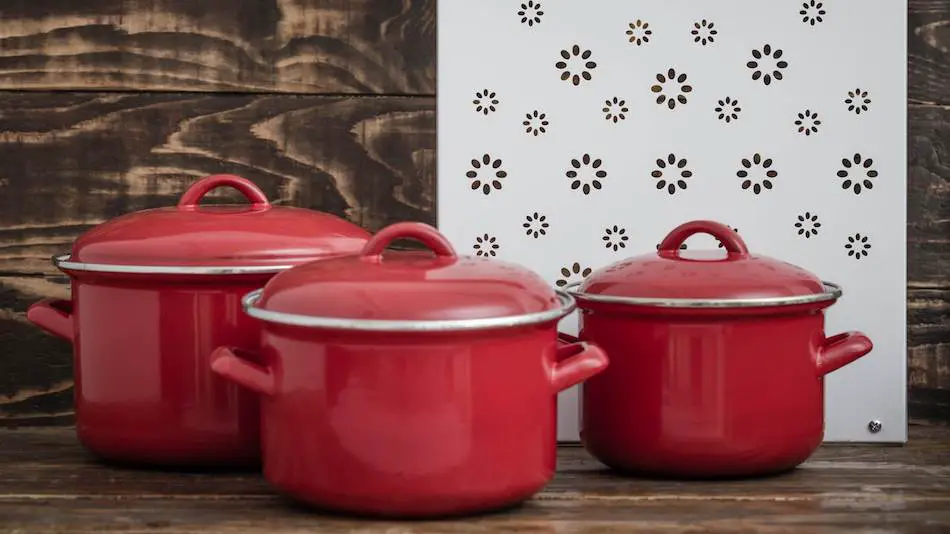
Baking Bread In A Dutch Oven
A Dutch oven is a large, heavy pot with a tight-fitting lid that is typically made of cast iron or enameled cast iron. It is ideal for baking bread because the thick walls and tight-fitting lid of the Dutch oven help to create a warm, moist environment inside the pot that is perfect for allowing bread dough to rise. Also, the heavy lid of the Dutch oven can be used to press down on the dough, helping to shape it into the desired form.
To bake bread in a Dutch oven, follow these steps:
- Preheat your oven to 425 degrees Fahrenheit.
- Dust your work surface with flour and gently roll out the bread dough into your desired shape.
- Transfer the dough to a piece of parchment paper, then carefully lower it into the Dutch oven.
- Cover the Dutch oven and place it in the preheated oven.
- Bake the bread for 15-20 minutes, or until it is golden brown and sounds hollow when tapped on the bottom.
- Carefully remove the Dutch oven from the oven and allow the bread to cool slightly before slicing and serving.
Baking Bread In A Skillet
Baking bread in a skillet is a great way to get a crispy and flavorful crust on the bottom and sides of the bread. I’ve tried it several times and it always turns out delicious! The high heat of the skillet creates a crispy, golden-brown crust on the bottom of the bread, and the oven helps to cook the bread evenly and thoroughly. Plus, using a skillet makes it easy to shape the bread dough, and it’s a fun and unique way to prepare bread at home. Give it a try!
To bake bread in a skillet, you will need the following ingredients: bread dough, flour for dusting, and salt. Follow these steps:
- Preheat your oven to 425 degrees Fahrenheit.
- Heat a large, oven-safe skillet over medium heat on the stovetop.
- Dust your work surface with flour and gently roll out the bread dough into your desired shape.
- Carefully transfer the dough to the hot skillet and cook it for 2-3 minutes, or until the bottom is golden brown.
- Sprinkle the top of the bread dough with a pinch of salt, then transfer the skillet to the preheated oven.
- Bake the bread for 15-20 minutes, or until it is golden brown and sounds hollow when tapped on the bottom.
- Allow the bread to cool slightly before slicing and serving.
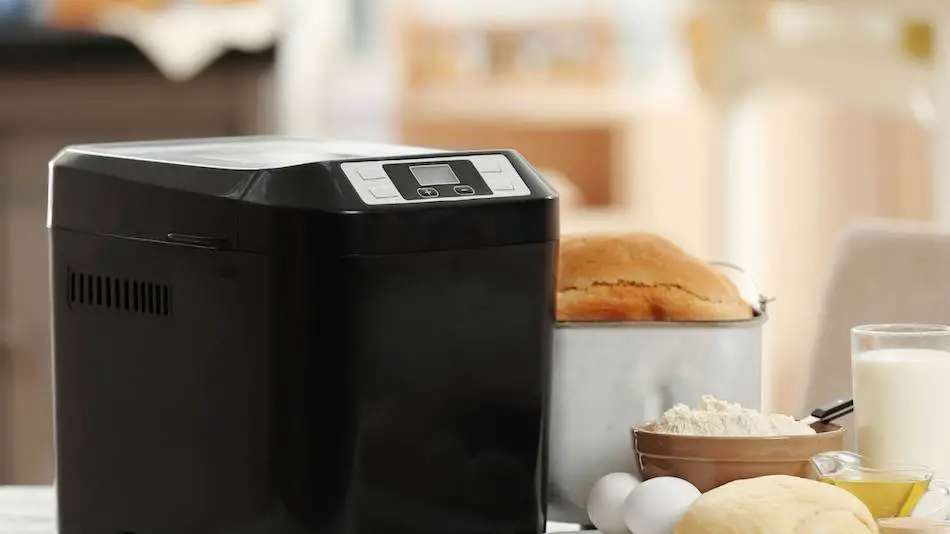
Baking Bread In A Bread Machine ( Bread Maker)
For starters, breadmakers are convenient and easy to use, so even novice bakers can turn out delicious bread consistently. Plus, you can program a breadmaker to start and finish the bread-making process at a specific time, so you can have fresh bread ready when you want it. I still love to set the timer on a bread machine and wake up to the smell of fresh bread! Also, breadmakers can make a wide variety of breads, including gluten-free and artisanal styles, making them a versatile tool in the kitchen.
To make bread in a breadmaker, follow these steps:
- Gather the ingredients for your bread recipe, including bread flour, yeast, salt, and any additional ingredients such as sugar, honey, or butter.
- Measure out the ingredients according to your recipe and place them in the bread pan of your breadmaker.
- Choose the appropriate settings on your breadmaker for the type of bread you are making (such as white bread, whole wheat bread, or gluten-free bread).
- Start the breadmaker and allow it to complete the bread-making process, which typically takes 2-3 hours.
- Once the bread is finished baking, carefully remove the bread pan from the breadmaker and transfer the bread to a wire rack to cool.
- Slice and serve the bread when it has cooled to your desired temperature.
Baking Bread On A Griddle
So why would you want to bake bread on a griddle? One reason is that griddles are quick and easy to use, and can produce delicious, crusty bread without the need for an oven. Griddles are also versatile and can be used to bake a variety of breads, including flatbreads, pancakes, and even sandwiches. Also, griddles are portable and can be used indoors or outdoors, making them a convenient option for camping, etc.
To make bread on a griddle, you will need the following ingredients: bread dough, flour for dusting, and salt. Follow these steps:
- Preheat your griddle over medium-high heat.
- Dust your work surface with flour and gently roll out the bread dough into your desired shape.
- Carefully transfer the dough to the hot griddle and cook it for 2-3 minutes, or until the bottom is golden brown.
- Flip the bread dough over and continue cooking for an additional 2-3 minutes, or until the other side is golden brown.
- Sprinkle the top of the bread dough with a pinch of salt, then continue cooking until the bread is cooked through and sounds hollow when tapped on the bottom.
- Transfer the bread to a plate and allow it to cool slightly before slicing and serving.
Baking Bread On A Pizza Stone
A pizza stone can help to produce a crispy and flavorful crust on the bottom of the bread, as the heat from the stone helps to cook the bread evenly and quickly. Additionally, the porous surface of a pizza stone can help to absorb moisture from the bread dough, resulting in a drier and crispier crust.
To make bread on a pizza stone, follow these steps:
- Preheat your oven to 425 degrees Fahrenheit, and place the pizza stone in the oven to heat up.
- Dust your work surface with flour and gently roll out the bread dough into your desired shape.
- Carefully transfer the dough to a piece of parchment paper, then carefully lower it onto the hot pizza stone.
- Bake the bread for 15-20 minutes, or until it is golden brown and sounds hollow when tapped on the bottom.
- Carefully remove the bread from the oven and allow it to cool slightly before slicing and serving.
Baking Bread With Bread Pans
Bread pans, also known as loaf pans, are a common way to bake bread in a specific shape and size. I’ve got dozens of these lying around. They are typically made of metal or silicone, and come in a variety of sizes to accommodate different types and quantities of bread dough. When using a bread pan, it’s important to properly grease the pan before adding the dough to ensure that the bread doesn’t stick to the sides or bottom of the pan during baking. This will help ensure that the bread comes out of the pan easily and in one piece once it’s finished baking.
To use bread pans for baking bread, follow these steps:
- Preheat your oven to the temperature specified in your bread recipe.
- Grease the bread pans with cooking spray or butter to prevent the dough from sticking to the sides and bottom of the pan.
- Prepare the bread dough according to your recipe, and then transfer it to the greased bread pans.
- Place the bread pans in the preheated oven and bake the bread for the amount of time specified in the recipe, or until the bread is golden brown and sounds hollow when tapped on the bottom.
- Once the bread is finished baking, remove the pans from the oven and let the bread cool in the pans for a few minutes before carefully turning them out onto a wire rack to cool completely.
- Once the bread is cool, slice and serve it as desired.
Baking Bread On Flat Baking Trays
Baking trays, also known as baking sheets are flat, rectangular pans that are typically used for baking cookies, pastries, and other types of flat or shallow baked goods. I know you might be wondering why you would want to bake bread on a flat baking sheet instead of using a loaf pan. There are a few reasons. Maybe you don’t have a loaf pan but still want to make bread without having to buy one. Or maybe you want to make a flat or oval-shaped bread, such as a focaccia or ciabatta, which would not be possible in a loaf pan. Also, some people may prefer the texture and crust of bread that is baked on a baking tray, as it can result in a more rustic-style bread with a crispy, crunchy crust. As with most things, the decision to use a baking tray for making bread is a personal preference and will depend on the individual’s tastes and preferences.
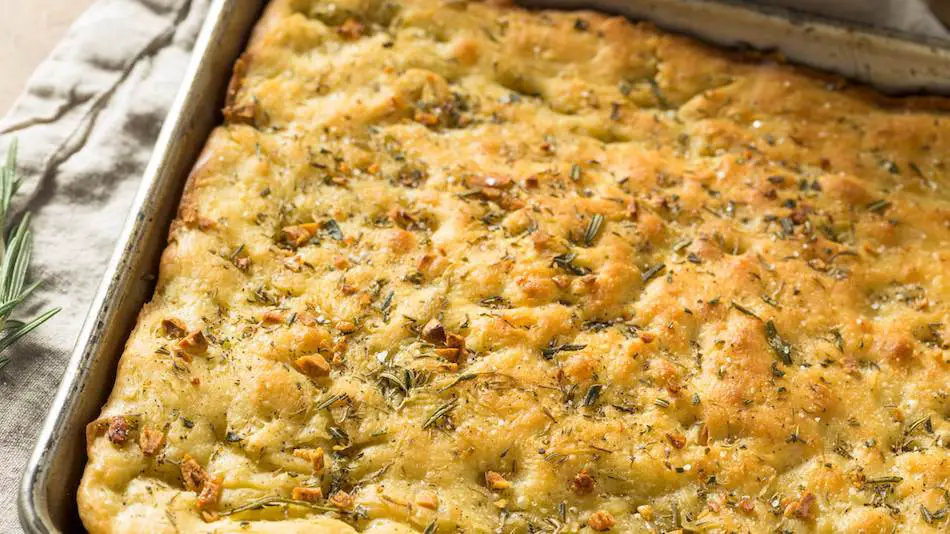
To bake focaccia bread on a flat baking tray, follow these steps:
- Preheat your oven to the temperature specified in your focaccia recipe.
- Grease the baking tray with cooking spray or olive oil to prevent the dough from sticking to the surface of the tray.
- Prepare the focaccia dough according to your recipe, and then transfer it to the greased baking tray.
- Use your fingers to press and stretch the dough to fit the shape of the baking tray, and then dimple the surface of the dough with your fingers.
- Drizzle the dough with olive oil and sprinkle with herbs and other seasonings, if desired.
- Place the baking tray in the preheated oven and bake the focaccia for the amount of time specified in the recipe, or until the bread is golden brown and sounds hollow when tapped on the bottom.
- Once the focaccia is finished baking, remove the tray from the oven and let the bread cool on the tray for a few minutes before slicing and serving it warm.
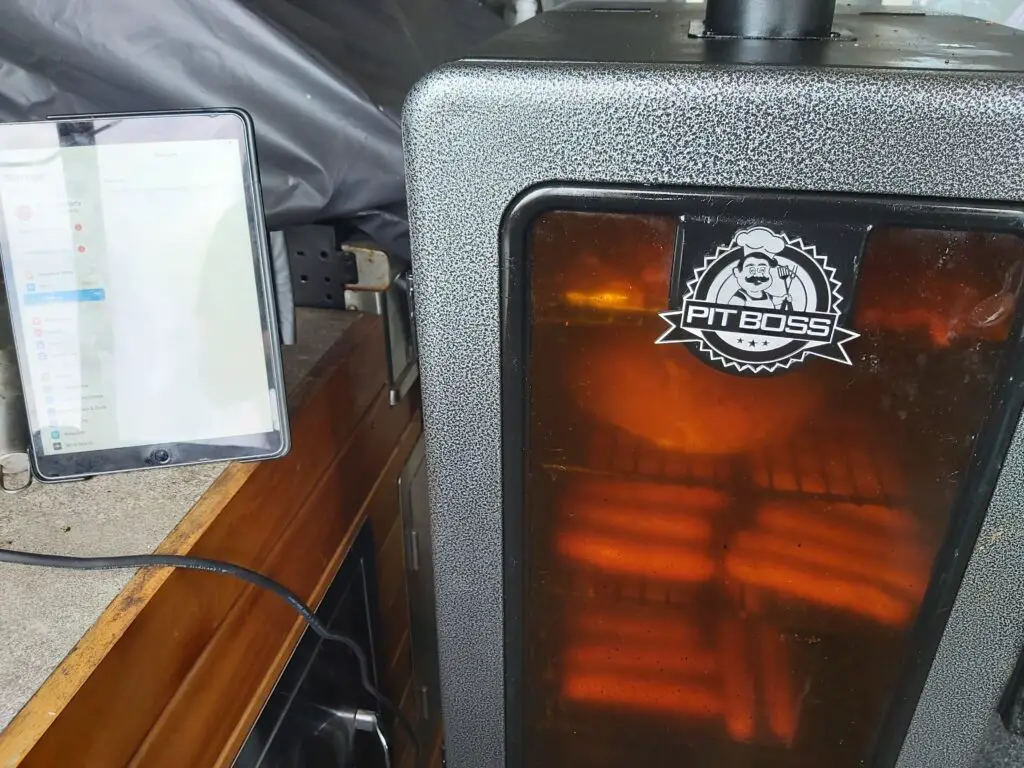
Smoking Bread In A Smoker
Bread baked in a smoker will have a unique, smoky flavor. The exact taste will depend on the type of wood used for smoking and the length of time the bread is smoked for. In general, the smoky flavor will be subtle and will complement the natural flavor of the bread. Some people also like to add herbs or spices to the bread dough before smoking it, which can add additional flavors to the finished product. Overall, smoking bread can be a fun way to experiment with new flavors and add a unique twist to your baking.
Here’s how to bake bread in a smoker:
- Preheat the smoker to a temperature of 225-250 degrees Fahrenheit.
- Place the bread dough in a disposable aluminum pan and place it in the smoker.
- Smoke the bread for 45 minutes to an hour, or until fully cooked.
- Check the bread regularly to ensure it is cooking evenly and not burning.
- Enjoy the unique, smoky flavor of your homemade smoked bread.
So there you have it. As you can see, there’s so many different ways to bake bread, and the method you choose will depend on your personal preferences and the type of bread you are making. Whether you use a loaf pan, a baking tray, or even a Dutch oven or a grill, there are plenty of options for creating delicious, homemade bread. With all of the different techniques and tools available, there are no excuses for not giving bread baking a try. So, grab your flour and yeast, and get to baking!