Baking bread at home can be frustrating when the final product comes out with a soggy bottom. This issue can be caused by a variety of factors, including the type of pan used, the oven temperature, and the dough itself. In this article, we will explore some common causes of soggy bread bottoms and provide tips and tricks for achieving a perfectly baked loaf every time. With a little bit of knowledge and some simple adjustments, you can say goodbye to soggy bread bottoms and enjoy the delicious taste and aroma of homemade bread.
A soggy bread bottom is a common problem that can occur when baking bread. It is caused by a number of factors, including over-proofing of the dough, lack of oven spring, and poor baking techniques. The dough may be too wet, resulting in a lack of structure and support for the bread, causing it to collapse and become soggy. Insufficient baking time and temperature can also lead to a soggy bottom, as the bread may not be cooked through properly. Additionally, the use of certain ingredients, like high levels of sugar or oil, can contribute to a soggy bottom. This can be corrected by paying attention to the recipe, dough handling, and baking techniques,and making adjustments as necessary.
Quick Tips
- Soggy bread bottoms are caused by a combination of factors such as over-proofing, baking temperature and time, steam, and dough structure.
- To achieve a crispy crust on bread, use bread flour, control the amount of sugar and oil in the recipe, and pay attention to the proofing process.
- To test for doneness, tap the bottom of the bread, use a thermometer, or check the color of the crust.
- To revive soggy bread, reheat it in the oven, toast it, or cook it on a stovetop griddle or skillet.
- Different types of bread have unique characteristics and requirements, pay attention to the recipe and adjust the baking time and temperature accordingly.
- To achieve a crispy bottom on gluten-free bread, use a combination of gluten-free flours and xanthan gum or guar gum.
- To achieve a crispy bottom on low-carb bread, use low-carb flours and sweeteners.
- To achieve a crispy bottom on sourdough bread, use a well-established sourdough starter, a long fermentation process, and scoring the bread before baking.
- To achieve a crispy bottom, use a baking stone or cast iron skillet, Dutch oven, or covered baker.
Understanding the causes of a soggy bread bottom
Soggy bread bottom is a common problem that can happen to even the most experienced bread bakers. It is caused by a number of factors, including over-proofing of the dough, lack of oven spring, and poor baking techniques.
When the dough is over-proofed, it loses its structure and support, causing it to collapse and become soggy. Additionally, if the bread is not cooked through properly due to insufficient baking time or temperature, it can result in a soggy bottom.
And let us not forget, certain ingredients such as high levels of sugar or oil can contribute to a soggy bottom.
But fear not, by paying attention to the recipe, dough handling, and baking techniques, and making adjustments as necessary, we can say goodbye to soggy bread bottoms and hello to perfect, crispy crust every time.
How to achieve a crispy crust on your bread
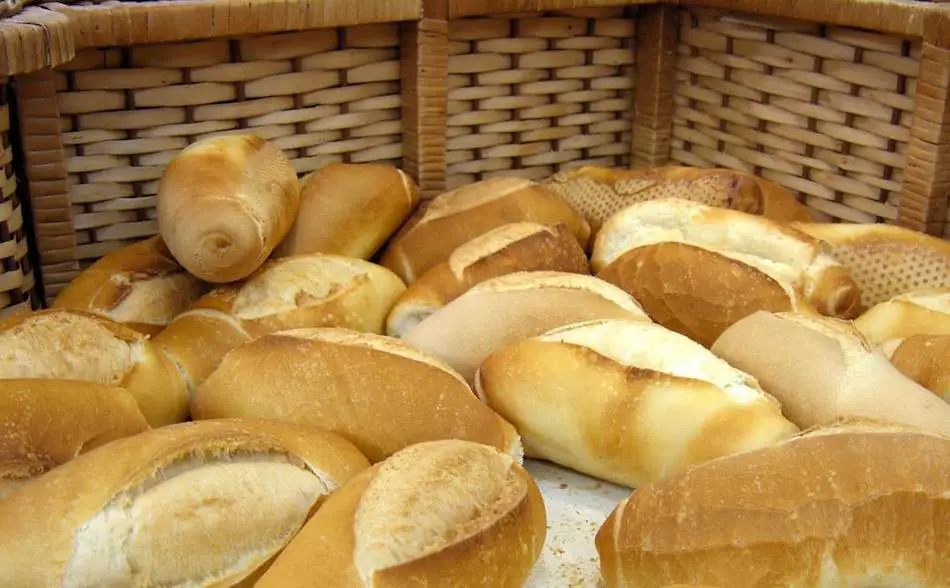
The secret to achieving a crisp crust on your bread is all about creating steam during the baking process. You see, when the bread is first placed in the oven, the heat causes the moisture in the dough to turn to steam.
This steam helps to create a beautiful, crispy crust by expanding the dough and setting the structure of the bread. To create steam in your oven, you can preheat a baking stone or cast iron skillet, and place your bread on top of it before baking.
You can also add a tray of water to the bottom of the oven to create steam. Another tip is to score the bread before baking, this allows the steam to escape and creates a beautiful crust.
And don’t forget to keep an eye on your bread, it may need to be rotated for even baking.
| Cause | Solution |
|---|---|
| Dough is too thick | Use less flour when mixing dough |
| Not enough baking powder or yeast | Increase the amount of baking powder or yeast in the recipe |
| Oven temperature is too low | Preheat the oven to the proper temperature before baking |
| Bread is undercooked | Cook the bread for longer at the proper temperature |
| Pan is not preheated | Preheat the pan before adding the dough |
| Pan is not the right size for the dough | Use a pan that is the appropriate size for the amount of dough |
| Dough is too moist | Use less liquid when mixing the dough |
The impact of baking time and temperature on bread texture
The time and temperature at which you bake your bread, my dear friends, can have a significant impact on the texture of the final product.
Bread baking is a delicate balance of heat and time. The right combination will give you a beautifully risen, light and airy bread with a crisp crust. On the other hand, if the temperature is too low or the baking time is too short, the bread may not cook through properly and will result in a soggy bottom.
If the temperature is too high or the baking time is too long, the bread may burn on the outside and remain undercooked on the inside.
It’s essential to pay attention to your recipe and oven, and make any necessary adjustments to the baking time and temperature. For example, some breads may require a higher temperature for the first part of the baking time to give them a good rise and then a lower temperature to finish.
Some breads may need to be covered during the first part of the baking to trap the steam, and then uncovered to allow the crust to form.
The key is to experiment and find the right balance for your recipe and oven. With a little bit of practice and patience, you’ll be able to bake bread with the perfect texture every time.
The role of steam in bread baking and how to control it
Ah, steam, my dear friends, it is a crucial element in bread baking, and it plays a vital role in creating that beautiful, crispy crust we all crave.
When the bread is first placed in the oven, the heat causes the moisture in the dough to turn to steam. This steam helps to expand the dough, creating a beautiful rise and a nice crust.
To achieve the best results, it’s essential to control the amount of steam in the oven. One way to do this is by using a Dutch oven or a covered baker, which trap the steam inside, giving the bread a soft, moist crust.
Another way is by using a baking stone or cast iron skillet, which absorb the steam and give the bread a crispy crust. And don’t forget to score the bread before baking, this allows the steam to escape and creates a beautiful crust.
You can also create steam in the oven by adding a tray of water to the bottom of the oven. This will create a moist environment that is perfect for the first part of the baking process. However, as the bread nears the end of the baking time, you may want to remove the tray of water to allow the crust to form.
The key is to experiment and find the right balance of steam for your recipe and oven. With a bit of practice, you’ll be able to control the steam and bake bread with the perfect crust every time.
Tips for achieving a crispy bottom on homemade bread
Achieving a crispy bottom on homemade bread can be a tricky task, but fear not, my dear friends, for I have some tips that will help you achieve the perfect crust every time.
First and foremost, pay attention to your dough and make sure it is not too wet. If the dough is too wet, it will not have enough structure and support, causing it to collapse and become soggy.
Next, pay attention to the temperature and time of your baking process. A higher temperature and longer baking time will help to create a crispy crust. It’s also essential to pay attention to your oven and make any necessary adjustments to the baking time and temperature.
Another tip is to use a baking stone or cast iron skillet, which absorb the steam and give the bread a crispy crust. Additionally, scoring the bread before baking will allow the steam to escape and create a beautiful crust.
And don’t forget about the role of steam in bread baking, you can create steam in the oven by adding a tray of water to the bottom of the oven. This will create a moist environment that is perfect for the first part of the baking process.
However, as the bread nears the end of the baking time, you may want to remove the tray of water to allow the crust to form.
With these tips, and a bit of practice, you’ll be able to achieve a crispy bottom on your homemade bread every time.
The importance of proper dough proofing to avoid a soggy bottom
Proofing is a crucial step in bread baking and it plays a significant role in avoiding a soggy bottom. You see, proper proofing allows the yeast to ferment and develop the gluten in the dough, resulting in a light, airy bread with a crisp crust.
However, if the dough is over-proofed, it loses its structure and support, causing it to collapse and become soggy. On the other hand, under-proofing can lead to a dense, heavy bread.
To avoid a soggy bottom, it’s essential to pay attention to the dough during the proofing process. Keep an eye on the dough, and make sure it has risen to the correct size and is ready for baking.
Alsoyou should also pay attention to the recipe, as some breads may require a longer proofing time than others.
Another tip to avoid a soggy bottom is to use a proofing basket or a floured cloth to support the dough during the proofing process. This will help to maintain the structure and shape of the dough and prevent it from collapsing.
With a bit of practice and patience, you’ll be able to achieve the perfect proofing every time and avoid a soggy bottom.
How to troubleshoot a soggy bottom in your bread
A soggy bottom in your bread can be a frustrating problem, my dear friends, but fear not, for there are several ways to troubleshoot and fix this issue.
First, take a look at the recipe and make sure you’re using the correct ingredients and measurements. Sometimes, using too much sugar or oil can contribute to a soggy bottom.
Next, pay attention to the proofing process, as over-proofed dough can result in a soggy bottom. Make sure that you are keeping an eye on the dough during the proofing process, and that it has risen to the correct size and is ready for baking.
Also, pay attention to the baking process, as insufficient baking time and temperature can lead to a soggy bottom. Make sure that the bread is cooked through properly and that the crust is golden brown.
If you have tried all of these steps and still have a soggy bottom, you could try using a baking stone or cast iron skillet, which absorb the steam and give the bread a crispy crust.
You could also try using a Dutch oven or a covered baker, which trap the steam inside, giving the bread a soft, moist crust.
With a bit of experimentation and attention to detail, you’ll be able to troubleshoot and fix a soggy bottom in your bread.
The difference between a soggy bottom and undercooked bread
A soggy bottom and undercooked bread may seem like similar issues, my dear friends, but they are, in fact, quite different.
A soggy bottom is caused by a lack of structure and support in the dough, resulting from over-proofing, poor baking techniques, or certain ingredients, such as high levels of sugar or oil.
On the other hand, undercooked bread is caused by insufficient baking time and temperature.
When you bite into a soggy bottomed bread, you will notice that the bread has a moist texture and the crust is not crispy. In contrast, when you bite into an undercooked bread, the bread will have a raw doughy texture, and the crust may be pale and not fully set.
To avoid a soggy bottom, pay attention to the proofing process, as over-proofed dough can result in a soggy bottom.
Make sure that you are keeping an eye on the dough during the proofing process, and that it has risen to the correct size and is ready for baking. To avoid undercooked bread, pay attention to the baking time and temperature, make sure that the bread is cooked through properly, and that the crust is golden brown.
With a bit of attention to detail and practice, you’ll be able to differentiate between a soggy bottom and undercooked bread and take the necessary steps to avoid them.
Techniques for preventing a soggy bottom when using a bread machine
Using a bread machine can be a convenient way to make homemade bread, my dear friends, but it can also lead to a soggy bottom if not used correctly.
However, fear not, for there are several techniques you can use to prevent a soggy bottom when using a bread machine.
First, pay attention to the recipe and make sure you’re using the correct ingredients and measurements. Sometimes, using too much sugar or oil can contribute to a soggy bottom.
Next, pay attention to the dough cycle, as over-proofed dough can result in a soggy bottom. Make sure that you are keeping an eye on the dough during the dough cycle, and that it has risen to the correct size and is ready for baking.
Another technique is to use the “Rapid” or “Quick” cycle on your bread machine, this can help to reduce the proofing time and prevent over-proofing.
Also, you can try adding a tablespoon of vital wheat gluten to your dough, it can help to strengthen the dough structure and prevent a soggy bottom.
Lastly, pay attention to the baking process, as insufficient baking time and temperature can lead to a soggy bottom. Make sure that the bread is cooked through properly and that the crust is golden brown.
By following these techniques, you’ll be able to prevent a soggy bottom when using a bread machine and enjoy perfectly baked bread every time.
How to properly store bread to maintain a crispy bottom
Properly storing bread, my dear friends, is essential to maintain that beautiful, crispy bottom. You see, bread is best consumed fresh out of the oven, but if you have leftovers, there are several ways to store it to maintain its texture and flavor.
The first way is to store bread in a bread box or a paper bag, this will help to keep the bread fresh and maintain its texture.
Another way is to store bread in an airtight container or a plastic bag, this will help to prevent the bread from drying out and maintain its moisture. However, make sure to let the bread cool completely before storing it.
You can also store bread in the freezer, this will help to preserve the bread’s texture and flavor for a longer period of time. To do this, wrap the bread in plastic wrap and then place it in a resealable plastic bag. When you’re ready to eat the bread, remove it from the freezer and let it thaw for a bit before toasting it.
It’s important to note that storing bread in the refrigerator is not recommended, as the low temperatures can cause the bread to dry out and lose its texture.
With these tips, you’ll be able to properly store bread and maintain its crispy bottom for longer.
The impact of ingredients and recipe on a soggy bottom
Ingredients and recipe, my dear friends, can have a significant impact on the texture of the final product, particularly when it comes to avoiding a soggy bottom.
The type and amount of flour used in the recipe can affect the structure and support of the bread, which can lead to a soggy bottom if the dough is too wet.
Using bread flour, which has a higher protein content, can help to create a stronger structure and support in the dough, resulting in a crispy crust.
Also, the type and amount of sugar and oil used in the recipe can affect the texture of the bread. Using too much sugar or oil can contribute to a soggy bottom, as it can make the dough too wet and lack structure.
The recipe and ingredients also affect the proofing process, as some breads may require a longer proofing time than others.
Over-proofed dough can result in a soggy bottom, so it’s important to pay attention to the recipe and make sure the dough is proofed correctly.
With the right ingredients, recipe, and a bit of attention to detail, you’ll be able to avoid a soggy bottom and enjoy a perfectly baked bread every time.
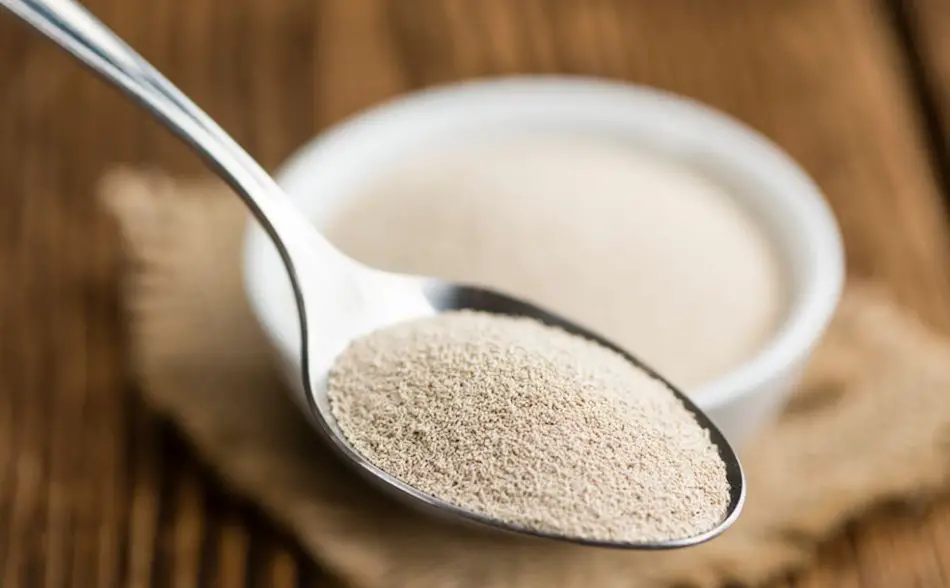
How to test for doneness in bread to avoid a soggy bottom
Testing for doneness, my dear friends, is an essential step in bread baking and it plays a significant role in avoiding a soggy bottom.
You see, baking bread to perfection requires a delicate balance of time and temperature, and it’s essential to know when the bread is done to avoid under or over baking.
One way to test for doneness is by tapping the bottom of the bread, if it sounds hollow, it’s likely done. Another way to test for doneness is by using a thermometer, the internal temperature of the bread should reach between 190-200F (88-93C) for most breads.
Additionally, you can also rely on the color of the crust, it should be golden brown and feel firm to the touch.
It’s important to note that these are general guidelines and not all breads will have the same requirements, it’s important to pay attention to the recipe and adjust the baking time and temperature accordingly.
By testing for doneness correctly, you’ll be able to avoid a soggy bottom and enjoy a perfectly baked bread every time.
How to revive a soggy bottomed bread
Reviving a soggy bottomed bread, my dear friends, is a tricky task, but with a bit of know-how, it can be done.
One way to revive soggy bread is by reheating it in the oven. Preheat the oven to 350F (175C) and place the bread on a baking sheet. Bake it for about 10 minutes or until the crust is crispy and the bread is heated through.
Another way to revive soggy bread is by toasting it. Place the bread on a toaster or in a toaster oven, and toast it until the crust is crispy and the bread is heated through.
Also, you can also revive soggy bread by using a stovetop griddle or a skillet. Place the bread on the griddle or skillet over medium heat and cook until the bread is heated through and the crust is crispy.
It’s important to note that these methods can only revive the bread to a certain extent, if the bread is too soggy it might not come back to its original texture and taste.
With these tips, you’ll be able to revive a soggy bottomed bread, and enjoy it once again.
How to avoid soggy bottoms in different types of bread
Avoiding a soggy bottom in different types of bread, my dear friends, can be a bit of a challenge, as each type of bread has its own unique characteristics and requirements. However, with a bit of know-how, it can be done.
For example, when baking a sourdough bread, it’s essential to pay attention to the fermentation and proofing process.
A long fermentation process will give the bread a better flavor and a stronger structure, preventing a soggy bottom. Also, scoring the bread before baking allows the steam to escape and creates a beautiful crust.
When baking a yeast bread, it’s important to use the right type and amount of flour, as well as the right amount of yeast.
Using bread flour, which has a higher protein content, can help to create a stronger structure and support in the dough, resulting in a crispy crust.
Also, pay attention to the proofing process, as over-proofed dough can result in a soggy bottom.
For a quick bread, like banana bread, it’s essential to use the right ingredients and measurements, as too much sugar or oil can contribute to a soggy bottom.
Make sure to not over-mix the batter, as this can lead to a dense, heavy bread.
By paying attention to the specific characteristics of each type of bread and using the right techniques, you’ll be able to avoid a soggy bottom on your loaf.
How to use a baking stone for a crispy bottom
A baking stone can be a fantastic tool for achieving a crispy bottom on your bread. A baking stone is a flat piece of stone, ceramic or unglazed clay that is used to simulate a brick oven. It is preheated in the oven and then used to bake bread, pizza, pastries and more.
The heat retained in the stone is transferred to the bread, resulting in a crispy crust and a more evenly baked bread.
To use a baking stone, you need to preheat the oven to the desired temperature and place the stone on the middle rack. Allow the stone to heat up for at least 30 minutes before using it.
Once the stone is hot, carefully place the bread dough on the stone, using a floured peel or baking sheet to transfer the bread. The bread will cook faster on the stone and the crust will be crispy.
When using a baking stone, it’s important to keep an eye on the bread and make any necessary adjustments to the baking time and temperature.
It’s also important to handle the baking stone with care, as it can be very hot.
By using a baking stone, you’ll be able to achieve a crispy bottom on your bread, and enjoy perfectly baked bread every time.
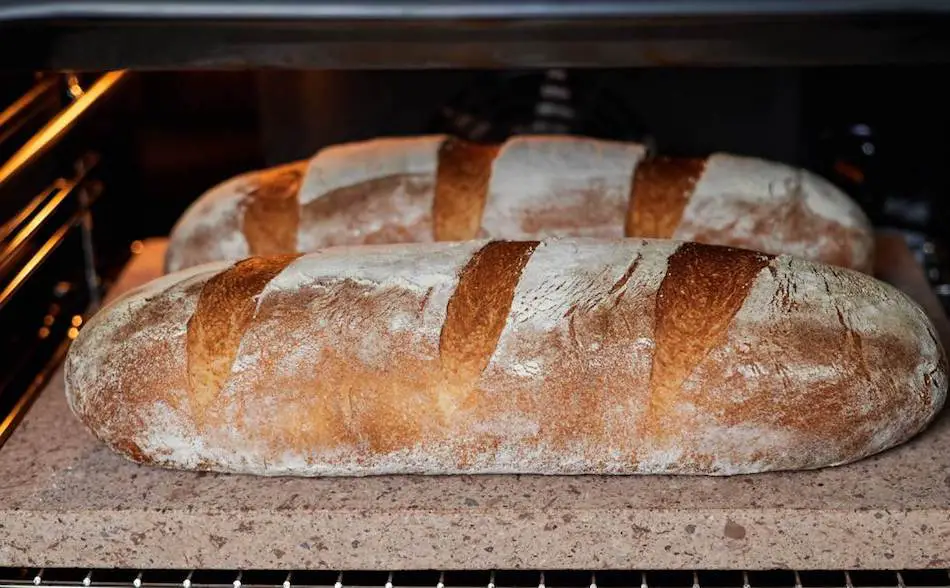
Using a Dutch oven for a crispy crust
A Dutch oven is a magical piece of cookware, and is the secret to achieving a crispy, golden crust on your bread.
A Dutch oven is a heavy, thick-walled pot with a tight-fitting lid. When you bake bread in a Dutch oven, the lid traps steam inside, creating a humid environment that helps the dough rise.
But here’s the key: after the dough has risen, you take off the lid and let the bread continue to bake. This allows the steam to escape, resulting in a crispy crust that will make your bread absolutely irresistible.
Preheat the oven and your Dutch oven with the lid on, place the bread dough inside, put the lid back on, and bake it for the first 20 minutes.
Then take the lid off and continue to bake for the remaining time. And voila, you’ll have a bread with the perfect crispy crust that will make even the toughest critics like me, impressed. Trust me, a Dutch oven is awesome when it comes to bread baking.
How to achieve a crispy bottom in artisan bread
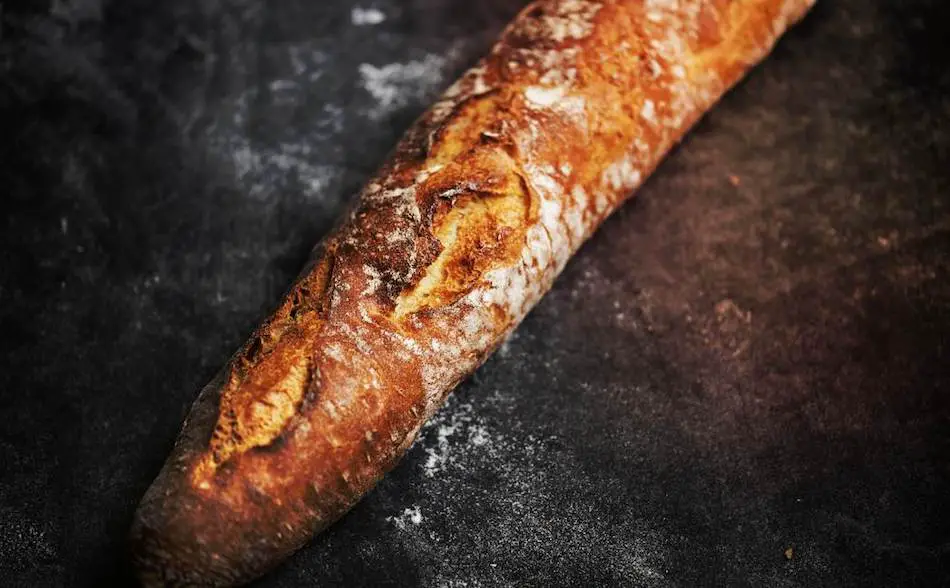
Achieving a crispy bottom in artisan bread is all about understanding the unique characteristics and requirements of this type of bread.
Artisan bread is characterized by its rustic appearance, complex flavor, and a crispy crust.
One way to achieve a crispy bottom is by using a pre-ferment, such as a sourdough starter, this will give the bread a better flavor and a stronger structure, preventing a soggy bottom.
Additionally, a long fermentation process will also help to develop the gluten in the dough, resulting in a light, airy bread with a crisp crust.
As mentioned above, by using a Dutch oven or a covered baker, this will trap the steam inside, giving the bread a soft, moist crust. You can also use a baking stone or cast iron skillet, which absorb the steam and give the bread a crispy crust.
It’s also essential to pay attention to the scoring, it allows the steam to escape and creates a beautiful crust.
Lastly, pay attention to the baking time and temperature, make sure that the bread is cooked through properly, and that the crust is golden brown.
How to achieve a crispy bottom in gluten-free bread
Achieving a crispy bottom in gluten-free bread, my dear friends, can be a bit of a challenge as gluten is the protein found in wheat, barley, and rye that gives bread its elasticity, structure and chewiness.
Without gluten, the bread can be dense and have a soggy bottom. However, with the right ingredients and techniques, it can be done.
One way to achieve a crispy bottom is by using a combination of gluten-free flours, such as almond flour, coconut flour, and tapioca flour.
These flours will provide structure and support to the dough, resulting in a crispy crust. Additionally, using xanthan gum or guar gum can also help to bind the ingredients and give the bread a better structure.
Another way to achieve a crispy bottom is by using a baking stone or cast iron skillet, which absorb the steam and give the bread a crispy crust.
You can also try using a Dutch oven or a covered baker, which trap the steam inside, giving the bread a soft, moist crust.
It’s also essential to pay attention to the proofing process, as over-proofed dough can result in a soggy bottom.
Make sure that you are keeping an eye on the dough during the proofing process, and that it has risen to the correct size and is ready for baking.
Lastly, pay attention to the baking time and temperature, make sure that the bread is cooked through properly, and that the crust is golden brown.
How to achieve a crispy bottom in low-carb bread
Achieving a crispy bottom in low-carb bread, my dear friends, can be a bit of a challenge as traditional ingredients like wheat flour and sugar are high in carbohydrates.
However, with the right ingredients and techniques, it can be done.
One way to achieve a crispy bottom is by using low-carb flours, such as almond flour, coconut flour, and flaxseed meal.
These flours are lower in carbohydrates and provide structure and support to the dough, resulting in a crispy crust. Additionally, using low-carb sweeteners, such as erythritol, stevia, or monk fruit sweetener, can also help to reduce the amount of carbohydrates in the bread.
Another way to achieve a crispy bottom is by using a baking stone or cast iron skillet, which absorb the steam and give the bread a crispy crust.
You can also try using a Dutch oven or a covered baker, which trap the steam inside, giving the bread a soft, moist crust.
It’s also essential to pay attention to the proofing process, as over-proofed dough can result in a soggy bottom.
Make sure that you are keeping an eye on the dough during the proofing process, and that it has risen to the correct size and is ready for baking.
Lastly, pay attention to the baking time and temperature, make sure that the bread is cooked through properly, and that the crust is golden brown.
How to achieve a crispy bottom in sourdough bread
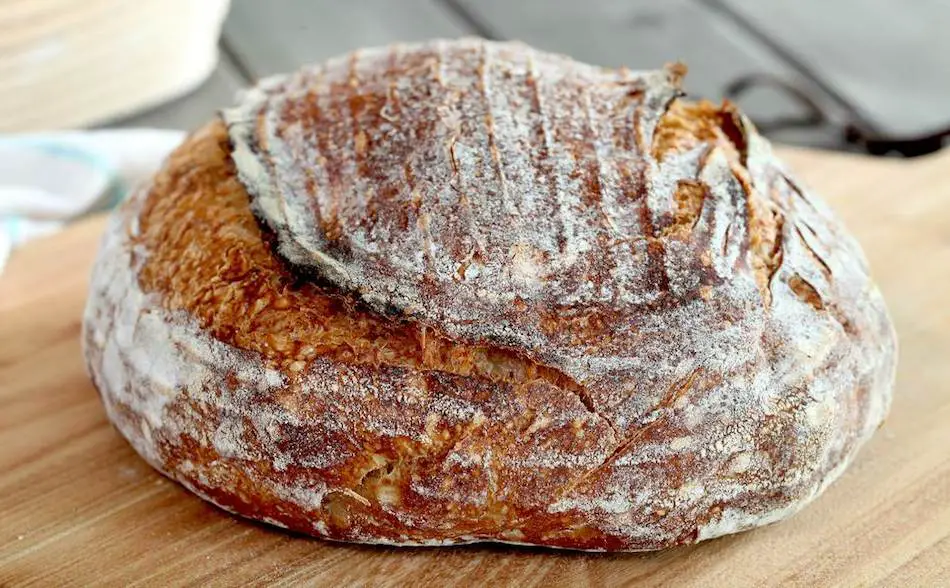
Achieving a crispy bottom in sourdough bread, my dear friends, is all about understanding the unique characteristics and requirements of this type of bread.
Sourdough bread is characterized by its tangy flavor, open crumb, and a crispy crust.
One way to achieve a crispy bottom is by using a well-established sourdough starter, this will give the bread a better flavor and a stronger structure, preventing a soggy bottom.
Additionally, a long fermentation process will also help to develop the gluten in the dough, resulting in a light, airy bread with a crisp crust.
Another way to achieve a crispy bottom is by using a Dutch oven or a covered baker, this will trap the steam inside, giving the bread a soft, moist crust.
You can also use a baking stone or cast iron skillet, which absorb the steam and give the bread a crispy crust.
It’s also essential to pay attention to the scoring, it allows the steam to escape and creates a beautiful crust.
Lastly, pay attention to the baking time and temperature, make sure that the bread is cooked through properly, and that the crust is golden brown.
With these tips and a bit of practice, you’ll be able to achieve a crispy bottom in sourdough bread and enjoy perfectly baked bread every time.

