

Are you tired of biting into a dense and heavy whole wheat bread? Many home bakers struggle with this common problem. The density and heaviness of whole wheat bread can be caused by a variety of factors, including the type of flour used, the rising agent, and the baking method. In this article, we will explore the possible reasons for the density and heaviness of whole wheat bread and offer tips and tricks to achieve a lighter and fluffier loaf.
Many home bakers struggle with the problem of dense and heavy whole wheat bread. Dense what bread can be caused by a variety of factors such as using the wrong type of flour, not using enough rising agents like yeast, or over mixing the dough. To achieve a lighter and fluffier loaf, bakers can try using bread flour, using the correct amount of yeast, and being gentle when mixing the dough. Also, allowing the dough to rise for longer and using a pre-ferment can also help improve the texture of the bread.
Understanding the causes of dense whole wheat bread
Dense, heavy whole wheat bread is a cardinal sin in the baking world. It’s a clear indication that something has gone terribly wrong in the kitchen. But before we point fingers, let’s take a closer look at the causes of this abomination.
It could be the type of flour being used, not enough rising agents, or even over mixing the dough. These are all crucial elements in the bread making process, and they need to be given the attention they deserve.
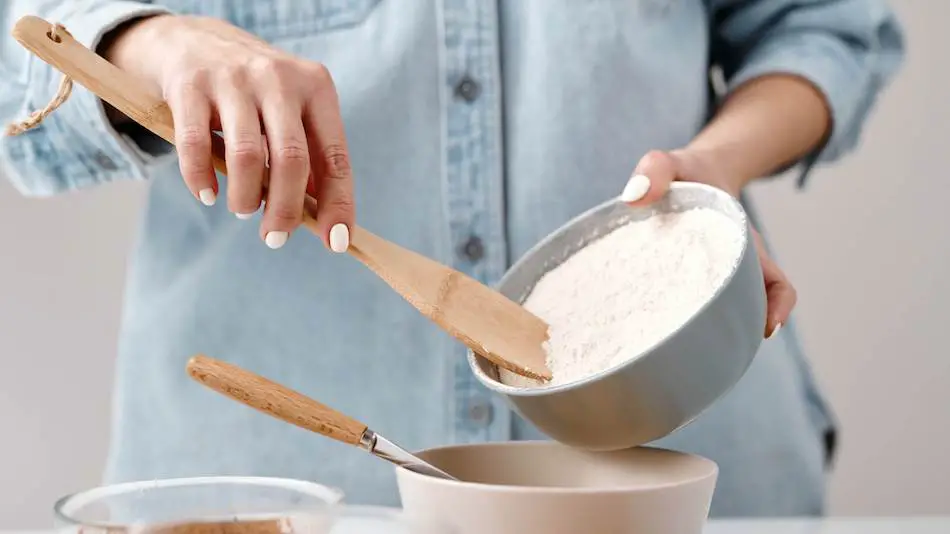
Importance of using the right type of flour
Using the right type of flour is absolutely crucial when it comes to achieving a light and fluffy whole wheat bread. The type of flour you use can make or break your bread, and let me tell you, using the wrong type will break it.
Whole wheat flour, bread flour, all-purpose flour, they’re all different and they all have their own unique characteristics. It’s crucial to understand the difference and use the right one for the job.
Using bread flour instead of all-purpose flour can make a huge difference in the texture of your bread. It’s the little things like this that separate the amateurs from the professionals.
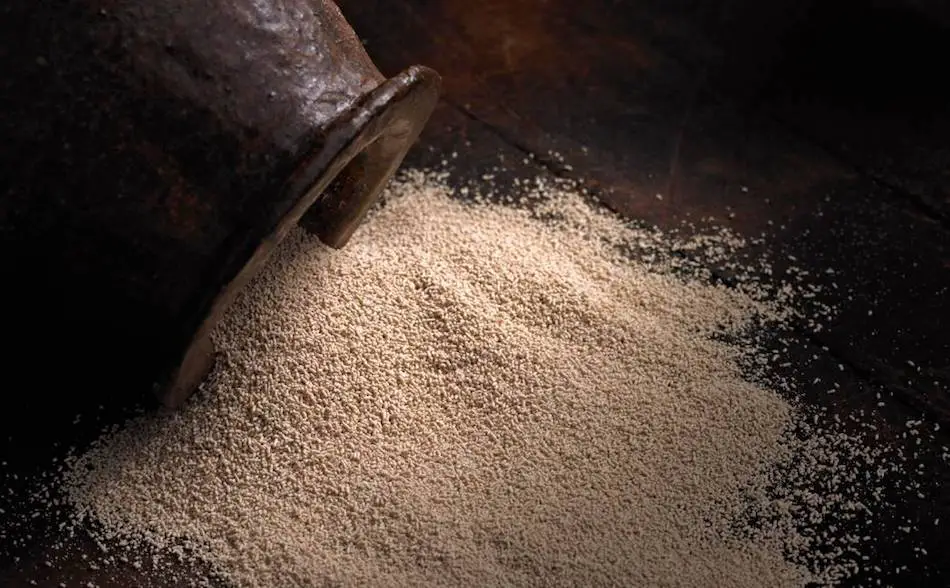
Yeast: the key to a light and fluffy loaf
Yeast, yeast, yeast, the magic ingredient that makes bread rise and gives it that beautiful light and fluffy texture. Yeast is the backbone of bread making and without it, you’ll be left with a flat, dense loaf.
Yeast is a living organism and it needs to be treated with the respect it deserves. You need to use the right amount, at the right temperature, and give it enough time to do its job.
Using too little yeast will result in a dense bread, and using too much will result in a bread that’s too risen and has a poor texture. It’s all about balance, and that’s what separates a good baker from a great one.
The impact of over mixing on bread texture
Over mixing, over mixing, over mixing, it’s the scourge of the baking world. Over mixing can turn a beautiful dough into a dense and heavy mess.
When you mix dough, you’re essentially developing gluten, and too much gluten development can lead to a tough and chewy bread. You need to mix the dough just enough to bring the ingredients together, and then stop.
It’s a delicate balance, and one that requires a skilled hand. Over mixing can ruin an otherwise perfect dough and it’s a mistake that’s easily avoidable.
Now, I know it may be tempting to over mix, especially if you’re feeling a bit anxious, but trust me, less is more when it comes to mixing dough.
The role of gluten in whole wheat bread
Gluten is a protein found in wheat, barley, and rye, and it plays a critical role in the structure and texture of bread. In whole wheat bread, gluten is responsible for giving the bread its chewy texture and for trapping the gases released by the yeast, which causes the bread to rise.
But too much gluten development can lead to a dense and heavy loaf. Now, I know some of you may be thinking, “But Gordon, isn’t gluten the enemy these days? ” let me tell you, gluten is not the enemy, it’s a necessary component of bread making.
It’s all about balance, and finding the sweet spot between gluten development and the other ingredients. Bakers, gluten is your friend, not your enemy.
Use it wisely and you’ll be rewarded with a beautiful, light and fluffy whole wheat bread. But be careless with it, and you’ll be stuck with a dense and heavy loaf that’s about as appetizing as a brick.
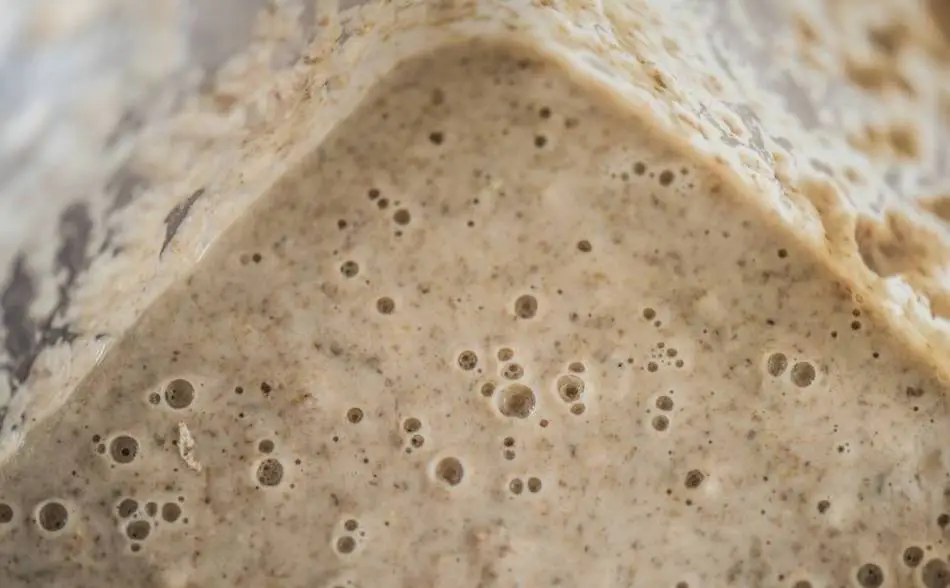
Using a pre-ferment for a lighter loaf
Now, let’s talk about pre-ferments, also known as starters, biga or poolish. They are a mixture of flour, water, and yeast that is made in advance, and it’s a game changer when it comes to making a lighter and fluffier whole wheat bread.
Pre-ferments give bread a more complex flavor, a better texture and a longer shelf-life. The idea is that by making a pre-ferment and letting it ferment for a period of time, you’re giving the yeast a head start on producing gases, which will make the bread rise more easily.
And also, by letting a pre-ferment ferment, you’re developing flavor, which leads to a more complex and delicious bread. It’s a simple yet effective technique that can take your bread baking to the next level.
So, next time you’re making whole wheat bread, consider using a pre-ferment, and watch as your bread becomes lighter, fluffier and more flavorful.
The importance of proper rising time
Rising time, rising time, rising time, it’s one of the most crucial elements in bread making and it’s often overlooked. You see, when yeast ferments, it produces gases that cause the bread to rise.
And the amount of time you give the dough to rise will affect the final texture of the bread. A proper rising time is key to achieving a light and fluffy whole wheat bread. If you rush the rising time, the bread will be dense and heavy.
But if you give the dough enough time to rise, the bread will be light and airy. It’s a delicate balance and one that requires patience.
Remember, good things come to those who wait. So, next time you’re making whole wheat bread, give the dough the proper rising time it deserves and watch as your bread becomes lighter and fluffier.
The effects of baking temperature and time
Listen up, bakers. Baking temperature and time are critical factors in bread making, and they can make or break your bread. Get it right, and you’ll be rewarded with a beautiful, golden loaf. Get it wrong, and you’ll be left with a bread that’s as hard as a rock.
It’s all about balance, and finding the sweet spot between baking temperature and time. The temperature should be high enough to create a nice crust while allowing the inside of the bread to cook properly.
And the baking time should be just enough to cook the bread through without over-baking it. I can’t stress enough the importance of keeping an eye on your bread while it’s in the oven.
Bread baking is a science, and even the slightest change in temperature or time can cause a big difference in the final product. So, pay attention, bakers. And remember, a good bread is the result of precision, not luck.
The impact of humidity on bread baking
Let’s talk about humidity, bakers. It’s often overlooked, but it’s one of the most critical factors in bread making. You see, humidity can affect the final texture of the bread.
If the humidity is too high, the bread will be too moist, and if it’s too low, the bread will be dry. It’s all about finding the sweet spot. The ideal humidity level for bread baking is around 70%.
And it’s essential to control the humidity level while the bread is rising and while it’s baking. It’s a delicate balance, and it requires a skilled hand.
Pay attention to the humidity level, and you’ll be rewarded with a beautiful, light and fluffy loaf. Ignore it, and you’ll be left with a dense and heavy bread that’s about as appetizing as a sponge.
Tips for achieving a lighter and fluffier whole wheat bread
Alright bakers, let’s talk about tips for achieving a lighter and fluffier whole wheat bread.
- Use bread flour instead of all-purpose flour.
- Use the correct amount of yeast, and give it enough time to do its job.
- Be gentle when mixing the dough, don’t over mix it.
- Allow the dough to rise for longer, this will help improve the texture of the bread.
- Use a pre-ferment, it will give the bread a more complex flavor and a better texture.
- Pay attention to the humidity level, it’s essential to control it while the bread is rising and while it’s baking.
- Use the right baking temperature and time, this will affect the final texture of the bread.
- Keep an eye on your bread while it’s in the oven, bread baking is a science, and even the slightest change can cause a big difference in the final product.
- Measure ingredients correctly, using the right amount of each ingredient is crucial for achieving a light and fluffy loaf.
- Be patient, good things come to those who wait. These are just a few tips that will help you achieve a lighter and fluffier whole wheat bread, but remember, bread baking is a craft and it takes time and practice to perfect it.
How to properly measure ingredients
Properly measuring ingredients is crucial for achieving a light and fluffy whole wheat bread. Baking is a science and even the slightest change in the amount of an ingredient can cause a big difference in the final product.
And let me tell you, nothing is more frustrating than putting in all that effort and time just to end up with a dense and heavy bread.
So, how do you properly measure ingredients? First, invest in a kitchen scale. A scale is more accurate than measuring cups and spoons.
Secondly, always measure ingredients by weight, not by volume. This will ensure that you’re using the right amount of each ingredient.
And finally, make sure to measure ingredients correctly. For example, when measuring flour, make sure to fluff it up first and then spoon it into the measuring cup and level it off with a straight edge.
Proper measuring of ingredients is not something to be overlooked. It’s the little things that make the big difference. So, invest in a kitchen scale, measure ingredients by weight, and make sure to measure ingredients correctly. It’s the key to success in bread making.

The effects of using a bread machine on texture
Bread machines are a convenient tool for making bread, but they can have an impact on the final texture of the bread. Most bread machines have a set of preset programs that control the kneading, rising and baking times, and they may not always align with the needs of the dough.
The kneading process in a bread machine can be less intense than when done by hand, leading to a less developed gluten structure and resulting in a lighter, less chewy texture.
Also, the rising time and temperature may also be different from traditional methods, which can also affect the final texture of the bread.
That being said, it’s not to say that a bread machine can’t produce a good loaf of bread, but it’s important to understand that the texture may be different than a loaf made by hand.
It’s all about finding the right program and setting that works best for the dough and your taste preference. So, bakers, if you’re using a bread machine, be mindful of the preset programs and how they can affect the final texture of the bread.
Alternatives to traditional rising agents
Let’s talk about alternatives to traditional rising agents such as yeast. Yeast is a common rising agent in bread making, but it’s not the only one.
- Baking Powder and Baking Soda: These are chemical leaveners that release carbon dioxide when they come into contact with liquid and heat. They’re often used in quick breads and cakes.
- Sourdough: Sourdough is made by fermenting flour and water with naturally-occurring wild yeast and bacteria. It’s a great alternative to commercial yeast and it adds a unique flavor to the bread.
- Club Soda: Club soda can be used as a substitute for yeast in some recipes, it’s carbonated, and it creates bubbles that help the dough to rise.
- Beer: Beer can be used as a substitute for yeast, the yeast in the beer will ferment the dough and make it rise.
- Fruit Juice: Fruit juice can be used as a substitute for yeast, the natural sugar in the fruit juice will feed the yeast and make the dough rise.
These are just a few alternatives to traditional rising agents, but remember, each one has its own unique characteristics and it may change the final flavor and texture of the bread.
How to properly store whole wheat bread
Properly storing whole wheat bread is crucial for maintaining its quality and freshness.
- Room Temperature: Whole wheat bread can be stored at room temperature for a couple of days, but it’s best consumed within 24 hours of baking for the best taste and texture.
- Refrigeration: Whole wheat bread can be stored in the refrigerator for up to a week, but it’s best to wrap it in plastic wrap or aluminum foil to prevent it from drying out.
- Freezing: Whole wheat bread can be frozen for up to 3 months, but it’s best to slice it before freezing, so it’s easier to thaw and it will maintain its texture.
- Toasting: If the bread has become a bit stale, try toasting it, it will revive its texture and taste
It’s important to note that whole wheat bread will dry out and stale faster than white bread due to the bran and germ in the whole wheat flour. So, it’s best to consume it sooner than later.
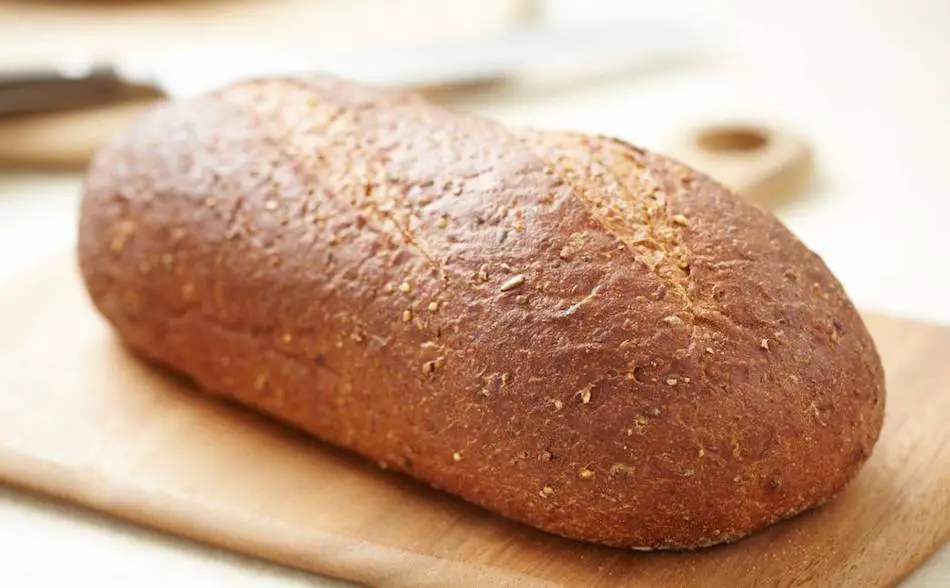
The impact of using whole wheat flour vs white flour
Whole wheat flour and white flour are two different beasts, and they have a significant impact on the final texture and flavor of the bread.
Whole wheat flour is made from the entire wheat kernel, including the bran, germ, and endosperm. This gives whole wheat bread a more complex flavor, a chewier texture, and a denser crumb.
White flour, on the other hand, is made by removing the bran and germ, leaving only the endosperm. This gives white bread a lighter texture, a milder flavor, and a softer crumb.
Now, I know some of you may be thinking, “Isn’t whole wheat flour better for you?” and you’re right, it is. Whole wheat flour is a healthier option, it has more fiber, vitamins and minerals than white flour.
But, it’s not always the best option for bread making. Whole wheat flour can make the bread dense and heavy, so it’s important to know when to use it and when to use white flour.
It’s all about balance, and understanding the differences between whole wheat flour and white flour. Use them wisely and you’ll be rewarded with a beautiful, delicious bread. Use them carelessly, and you’ll be stuck with a dense, heavy loaf that’s about as appetizing as a shoe.
Understanding the effects of dough hydration
Dough hydration is a crucial element in bread making, and it’s often overlooked. Dough hydration refers to the ratio of water to flour in the dough.
The more water in the dough, the higher the hydration level, and the stickier the dough will be.
The hydration level of the dough affects the final texture and shape of the bread. A higher hydration dough will result in a lighter, airier bread with a more open crumb structure.
A lower hydration dough will result in a denser, chewier bread with a tighter crumb structure.
It’s important to note that dough hydration level also affects the fermentation process of yeast. A higher hydration dough will ferment faster than a lower hydration dough. And this will affect the flavor of the bread.
Bakers, understanding dough hydration and how it affects the final texture and flavor of the bread is important.
Experiment with different hydration levels, and find the one that works best for you and your recipe. A little change in hydration can make a big difference in the final product.
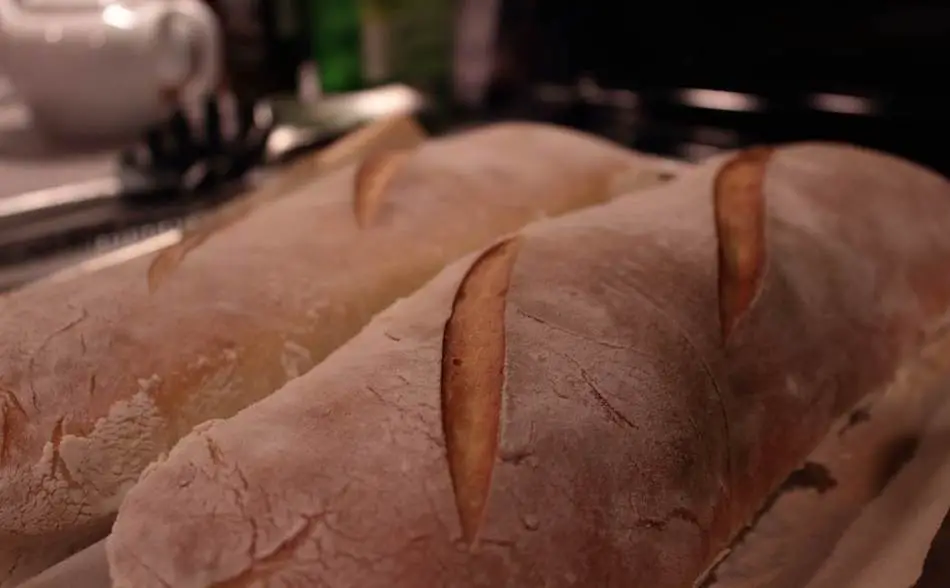
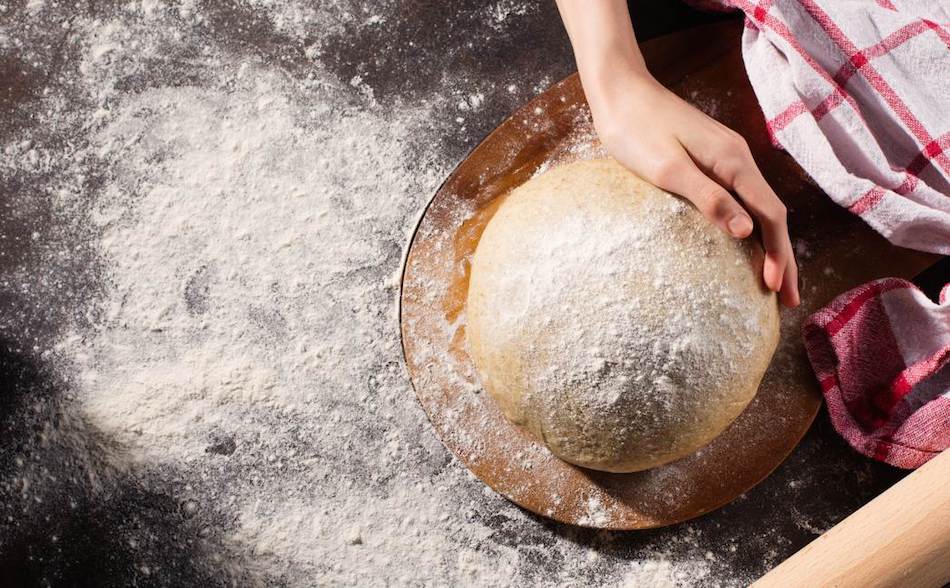
Techniques for shaping and scoring bread dough
Shaping and scoring bread dough is an art form and it’s the final step before baking. It’s the difference between a professional looking bread and a amateur one.
Shaping the dough involves giving it a certain shape and size, whether it’s a round boule, a batard, or a baguette. This step is essential for a visually pleasing bread and also for the final rising of the dough.
Scoring the dough is the process of making shallow cuts on the surface of the dough, before baking. This step is crucial for allowing the bread to expand during baking and release steam, this creates the characteristic ear of the bread.
When shaping and scoring the dough, it’s important to be gentle and not to deflate the dough. Also, use a sharp, clean blade or a lame (a special tool used for scoring bread) to make the cuts, this will give a clean cut and help the bread rise properly.
Shaping and scoring bread dough is not just about making it look pretty, it’s also essential for the final texture and rise of the bread. So, pay attention to the details, be gentle and precise, and take the time to perfect your shaping and scoring techniques, it will pay off in the end.
Troubleshooting common problems in whole wheat bread baking
Troubleshooting, troubleshooting, troubleshooting, it’s an essential part of bread baking, and it’s often overlooked. Here are some common problems that bakers may encounter when baking whole wheat bread and some possible solutions:
- Dense and heavy bread: This can be caused by over mixing, not enough rising time, or using too much flour. Solution: be gentle when mixing the dough, allow enough rising time, and measure ingredients correctly.
- Flat and dense bread: This can be caused by not enough yeast, not enough rising time or over baking. Solution: use the correct amount of yeast, allow enough rising time and keep an eye on the bread while it’s baking.
- Soggy Bottom: This can be caused by using too much liquid, not preheating the oven, or using a dark pan. Solution: measure ingredients correctly, preheat the oven, and use a light-colored pan.
- Unevenly risen bread: This can be caused by uneven distribution of ingredients, uneven mixing, or uneven baking temperature. Solution: mix the ingredients evenly, use a stand mixer with a dough hook, and make sure the oven is at the correct temperature.
- Hard crust: This can be caused by over baking or using too high of a temperature. Solution: keep an eye on the bread while it’s baking, and lower the oven temperature if necessary.
These are just a few common problems that bakers may encounter when baking whole wheat bread. Remember, bread baking is a craft and it takes time and practice to perfect it. So, pay attention to the details, and don’t be afraid to troubleshoot and make.